Calculation of Gear Exchange by Turning Thread on Horizontal Lathe
When turning threads on a horizontal lathe, the function of the interchanging gear (hanging gear) is to transmit the rotational motion of the main shaft to the leadscrew at a certain transmission ratio, so that the movement of the workpiece and the tool maintains a strict speed ratio relationship, thereby producing a thread pitch that meets the requirements. The core of the interchanging gear calculation is to determine the number of teeth of the driving, driven, and intermediate gears based on the required pitch of the workpiece and the pitch of the lathe leadscrew, ensuring an accurate transmission ratio (error ≤ 0.01%). Otherwise, the pitch error will exceed the tolerance, affecting the thread fit performance. For example, when machining a thread with a pitch of 3mm, if the interchanging gear calculation error results in an actual pitch of 3.01mm, the error can reach 1mm after 100 cumulative turns, which cannot meet the precision requirements of ordinary threads. Therefore, mastering the calculation method of interchanging gears for thread turning on a horizontal lathe is crucial to ensuring thread processing quality.
Calculating the transmission ratio of the interchanging gears is fundamental to pinion configuration. The transmission relationship for thread turning on a horizontal lathe is: for every workpiece rotation, the leadscrew must rotate Pwork/Pturns (Pwork is the workpiece pitch, Pturns is the leadscrew pitch). Therefore, the transmission ratio of the interchanging gears is i = Pwork/Pturns. Interchanging gears typically consist of a driving gear (z1), a driven gear (z2), and intermediate gears (z3 and z4). The intermediate gears only change the direction of transmission and do not affect the transmission ratio. The transmission ratio is i = z1/z2 × z3/z4 (for a double gear pair) or i = z1/z2 (for a single gear pair). For example , if the leadscrew pitch on a lathe is 6mm and a 2mm pitch thread is to be produced, i = 2/6 = 1/3. Possible combinations include z1 = 20, z2 = 60 (20/60 = 1/3), or z1 = 30, z2 = 90 (30/90 = 1/3). Calculations must ensure the gear tooth count is within the lathe’s tolerances (typically a minimum of 16 and a maximum of 120), and that the gear module matches the lathe’s wheel frame (typically 1.5-2mm). A machine tool shop, when machining a 5mm pitch thread, correctly calculated z1=50 and z2=60 (for a 6mm leadscrew pitch, i=5/6≈50/60), achieving a pitch error within 0.01mm.
There are differences in the calculation of interchanging gears for single-start and multi-start threads. For single-start threads, the pitch is equal to the lead, so the transmission ratio is simply calculated as i = Pwork / Pthread. For multi-start threads, the lead S = n × Pwork (n is the number of threads), so the transmission ratio is i = S/Pthread = n × Pwork / Pthread. For example, when machining a double-start 3mm thread (lead 6mm) with a 6mm leadscrew pitch, i = 6/6 = 1, and z1 = z2 (e.g., 50/50) can be selected. When calculating interchanging gears for multi-start threads, special attention must be paid to the distinction between lead and pitch to avoid mistaking pitch for lead, which can lead to incorrect transmission ratios. Furthermore, when machining imperial threads, the imperial pitch (threads/inch) must first be converted to the metric pitch (25.4mm/thread), and then calculated using the metric method. For example, when machining an imperial thread with 10 threads/inch, the metric pitch = 25.4/10 = 2.54mm. If the screw pitch is 6mm, then i = 2.54/6 ≈ 0.423. Therefore, z1 = 21 and z2 = 50 (21/50 = 0.42), with an error of approximately 0.7%, meets the requirements of common imperial threads. A fastener manufacturer, through precise conversion and gear calculation, has achieved a pitch error of less than 0.02mm when machining imperial threads, complying with the ANSI B1.1 standard.
The selection principle for interchangeable gears must balance transmission ratio accuracy and gear meshing performance. Approximate transmission ratio calculations require fractional simplification: reduce i = P / P to its simplest form, then decompose it into two fractions (i = a/b × c/d) to multiply z1 = a, z2 = b, z3 = c, and z4 = d, with the number of teeth on each gear within the allowable range. For example, if i = 0.375 = 3/8 = 3/4 × 1/2, then z1 = 30, z2 = 40, z3 = 15, and z4 = 30 (30/40 × 15/30 = 3/4 × 1/2 = 3/8 = 0.375). When selecting gears, ensure the appropriate center distance between the two gears: A = (m (z1 + z2)) / 2 (m is the module), which must match the center distance range of the lathe wheel frame (usually 100-200mm). Furthermore, the gear tooth contact ratio must be ≥70% to avoid poor meshing due to improper gear ratios (for example, a combination of z1=16 and z2=120 has a low contact ratio and should be avoided). A heavy machinery plant improved the smoothness of its pulley transmission by optimizing gear selection, reducing the thread surface roughness from Ra3.2μm to Ra1.6μm.
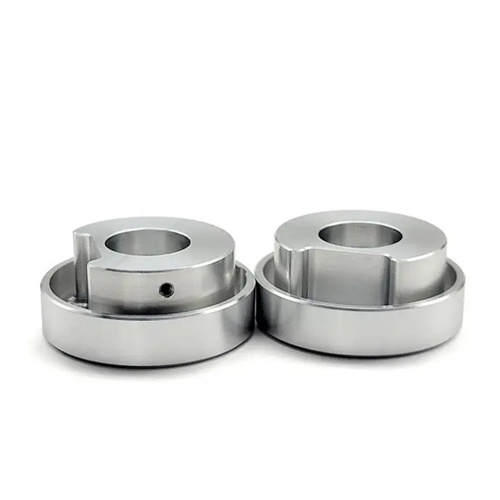
Error analysis and adjustment methods for gear exchange calculations are crucial for ensuring thread accuracy. The transmission ratio error Δi = (i actual – i theoretical) / i theoretical × 100%. For standard threads, Δi ≤ ±0.5%, and for precision threads, Δi ≤ ±0.1%. If the calculated gear combination error exceeds the specified limit, the tooth combination must be adjusted. For example, if i = 0.4167 (5/12), the initial selection of z1 = 25, z2 = 72 (25/72 ≈ 0.347, error – 16.7%) requires z1 = 35, z2 = 84 (35/84 ≈ 0.4167, error 0). For transmission ratios that cannot be precisely achieved with an integer number of teeth (such as i = 0.3333), approximate combinations (such as z1 = 20, z2 = 60, error 0) or the addition of intermediate gear sets (such as triple gears) can improve accuracy. During machining, verification is performed through trial cutting: a 10-20mm long thread is turned, the actual pitch is measured using a pitch gauge or tool microscope, and the gear is adjusted based on the error (for every 0.01mm error, the transmission ratio needs to be adjusted by 0.33%). Through error analysis and trial cutting adjustments, a precision instrument manufacturer has achieved precision thread pitch error within 0.005mm, meeting the requirements of metrological instruments.
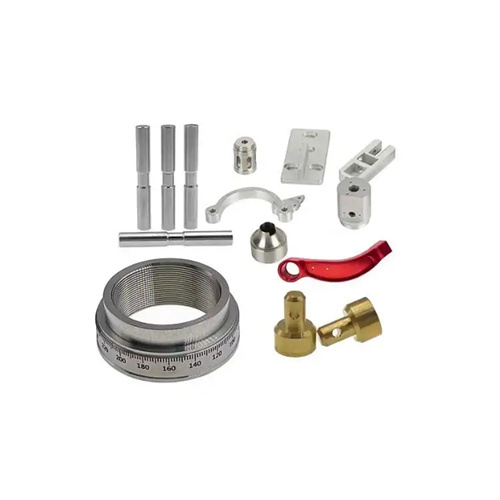
Specialized methods are required to calculate interchanging gears for special threads. When machining non-standard pitch threads, if the P tool is not within the lathe’s standard pitch range, calculations using gears are necessary. For example, if machining a 3.5mm pitch thread with a 6mm lead screw pitch, i = 3.5/6 ≈ 0.5833. Therefore, z1 = 35 and z2 = 60 (35/60 ≈ 0.5833) can be selected. When machining modular threads (such as metric worms), the lead S = π × m (m = the module), and the transmission ratio i = S/Pthread = π × m / Pthread. Since π is an irrational number, an approximate value (such as 3.1416) must be used for calculation. For example, when machining a 2mm module worm (S = 6.2832mm) with a 6mm lead screw pitch, i = 6.2832/6 ≈ 1.0472. The appropriate values for z1 = 63, z2 = 60, z3 = 100, and z4 = 99 (63/60 × 100/99 ≈ 1.05 × 1.01 ≈ 1.06, with an error of 1.2%) meet the requirements for general modular threads. For high-precision modular threads, a dedicated pulley assembly (including a π gear) is required to keep the error within 0.05%. When a machine tool factory processed precision worms, the lead error was reduced from 0.03mm to 0.005mm through calculation using a special gear set, ensuring the meshing accuracy between the worm and the worm wheel.
