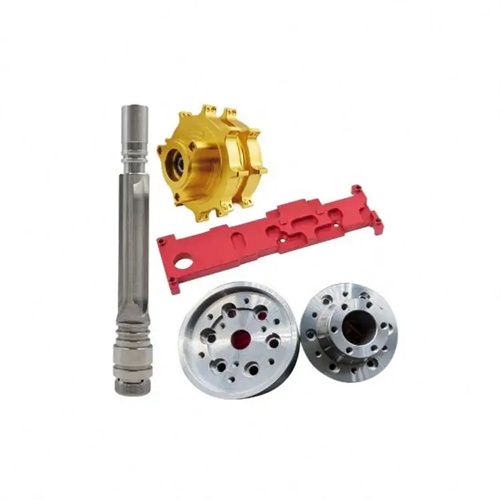
Turning of external tapered shafts
External tapered shafts are crucial components for torque transmission and positioning in mechanical transmissions. They are widely used in applications such as machine tool spindles, automotive drive shafts, and reducer output shafts. Their tapered surfaces must closely mate with corresponding internal tapered parts, and the accuracy of this fit directly impacts the equipment’s transmission efficiency and operational stability. The key to turning external tapered shafts lies in ensuring taper accuracy (typically required to be ±0.005mm/m), tapered surface straightness (≤0.01mm/100mm), and surface roughness (Ra ≤1.6μm). Especially when the taper half-angle is between 1° and 10°, even small angular errors can result in excessive clearance or interference. For example, when machining an external tapered shaft with a 1:20 taper, a taper error of 0.01mm/m can result in an axial play of 0.05mm after assembly, compromising transmission accuracy. Therefore, the appropriate machining method and process parameters for turning external tapered shafts must be selected based on the taper size, workpiece length, and required precision.
The turning method for external tapered shafts needs to be selected based on the workpiece structure and precision requirements. The rotating small slide method is the most commonly used basic method. By rotating the lathe small slide around the center of the turntable by an angle equal to the half-angle of the cone, the turning tool is fed along the cone generatrix. This method is suitable for machining short tapered shafts (length ≤ 300mm) and workpieces of arbitrary taper. This method is flexible and can achieve a taper accuracy of ±0.005mm/m. However, the feed rate is limited by the small slide stroke, and the uniformity of manual feed has a significant impact on surface quality. Practice is required to ensure smooth feed. The offset tailstock method is suitable for machining long tapered shafts (length > 500mm). By offsetting the tailstock center a certain distance away from the operator, the workpiece rotation axis forms an angle with the lathe spindle axis. The turning tool can still feed along the axial direction to turn a conical surface. The offset, S , is calculated as S = (Dd)/2L × L₀ ( D is the larger diameter, d is the smaller diameter, L is the taper length, and L₀ is the total workpiece length). For example, for a tapered shaft with D = 80 mm , d = 60 mm , L = 500 mm , and L₀ = 600 mm , the offset, S, is (80 – 60)/2 × 500 × 600 = 12 mm . This method is suitable for mass production, but the taper accuracy is slightly lower (± 0.01 mm/m ) and is only applicable to workpieces with smaller tapers (half-angle < 8° ).
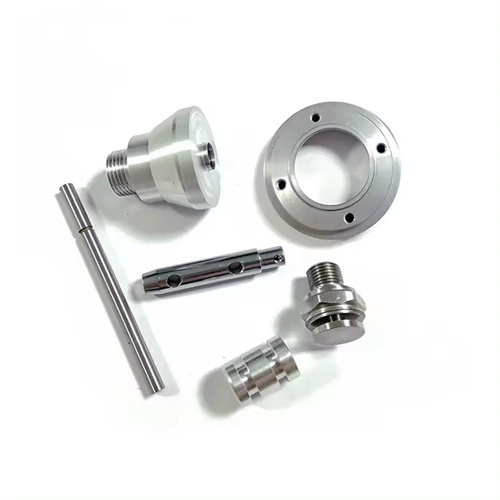
Broad-blade turning and profiling are suitable for machining external tapered shafts in specific scenarios. The broad-blade turning method uses a specialized turning tool with a cutting edge width equal to the length of the tapered surface, completing the taper in a single pass. This method is suitable for mass production of short (≤200mm) tapered shafts with large tapers. Surface roughness can reach Ra 0.8μm, and taper accuracy depends on tool installation accuracy (calibration with an angle template is required, with an error of ≤±3′). Sufficient lathe rigidity must be ensured to avoid vibration-induced ripples. Cutting speeds are typically 60-100m/min, with feed rates of 0.1-0.2mm/r. The profiling method (profiling method) uses the lathe’s profiling device to drive the toolholder along the conical surface trajectory of the profiling template. This method is suitable for machining long tapered shafts and mass production. Taper accuracy can reach ±0.003mm/m, ensuring consistency across multiple production runs. The angle of the platen in the profiling device requires precise adjustment and calibration using a dial indicator. For every 0.01mm/m of taper error, the platen angle must be corrected by 0.00057°. An automotive parts manufacturer uses the profiling method to produce 1.2m long tapered drive shafts, achieving a taper consistency error within 0.005mm/m and increasing production efficiency fourfold compared to the rotating slide method.
Tool selection and geometric design significantly influence the quality of conical surfaces. The material of the turning tool for external tapered shafts must be selected based on the workpiece material: When machining common steels such as 45 steel, YT15 carbide is used for rough turning, and W18Cr4V high-speed steel is used for fine turning. When machining difficult-to-machine materials such as stainless steel and high-temperature alloys, YW2 or ceramic tools are used. Tool geometry must ensure smooth cutting: a rake angle of 10°-15° (for steel) or 5°-10° (for cast iron), a clearance angle of 8°-12°, and a lead angle adjusted to the taper angle (typically equal to the taper half-angle + 1°-2°) to minimize radial impact of cutting forces on the workpiece. The cutting edge of the fine turning tool must be ground to a straightness error of ≤0.01mm/100mm, and a tip radius of 0.2-0.5mm to avoid tool marks on the conical surface. For tapered shafts with extremely high precision requirements, such as the taper surface of machine tool spindles, diamond tools are used for ultra-finishing turning. Surface roughness can be reduced to Ra0.02μm, with a taper error of ≤0.001mm/m. A precision machine tool manufacturer, by optimizing tool parameters, increased the contact area of the spindle taper surface from 75% to over 90%, meeting high-precision mating requirements.
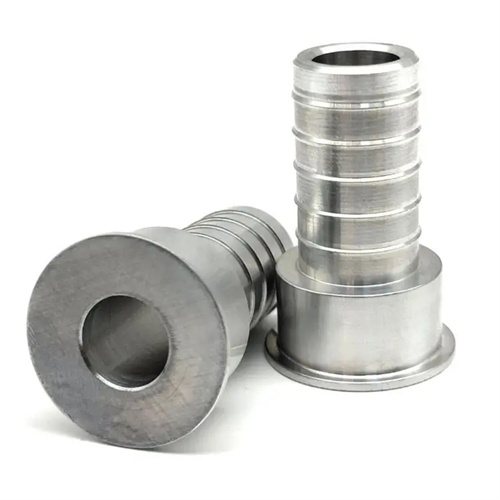
Cutting parameter optimization and quality inspection are key aspects of turning external tapered shafts. During rough turning, rapid stock removal is essential. A cutting speed of 80-120 m/min, a feed rate of 0.2-0.3 mm/r, and a back-cut depth of 1-2 mm are recommended. Emulsion cooling (8%-10% concentration) is used to prevent overheating and deformation of the workpiece. For finish turning, surface quality and accuracy must be maintained. The cutting speed is increased to 100-150 m/min, the feed rate is reduced to 0.1-0.15 mm/r, and the back-cut depth is 0.1-0.3 mm. Extreme-pressure cutting oil is used to enhance lubrication and reduce tool wear. Quality inspection is carried out in stages: After rough turning, check the diameters of the large and small ends of the cone to ensure sufficient allowance for fine turning (0.5-1mm); after fine turning, check the taper template with light transmission, ensuring the gap is ≤0.01mm; measure the cone half-angle with a universal angle ruler or optical goniometer, with an error of ≤±5′; and check the straightness of the cone surface with a dial indicator, with an error of ≤0.005mm per 100mm of length. For important tapered shafts, a color coating method is also used to check the fit. The contact spots should be evenly distributed, covering an area of ≥80%. Through strict parameter control and inspection processes, a construction machinery factory has increased the machining pass rate of external tapered shafts from 88% to 99.5%, significantly reducing the scrap rate.
