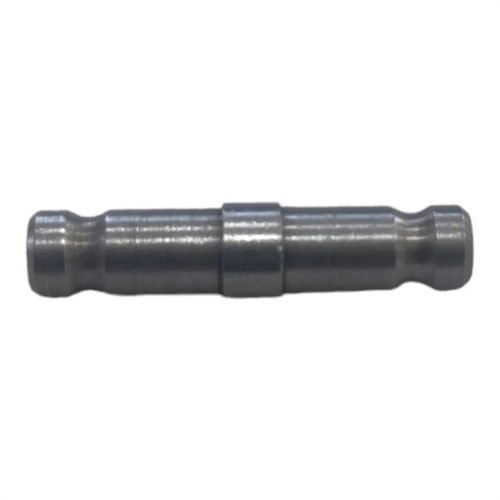
Common gear hobbing machine contact dimensions
As a key piece of equipment for gear processing, gear hobbing machines require a series of dimensions related to their installation, adjustment, workpiece clamping, and tool configuration. These parameters directly impact gear processing accuracy and efficiency and serve as crucial considerations for equipment selection and process design. These dimensions primarily include workpiece mounting dimensions, tool mounting dimensions, travel range, and center-to-center distance. Workpiece mounting dimensions, including the worktable diameter, spindle bore, and center-to-center distance, determine the maximum workpiece diameter and length the hobbing machine can process. For example, the worktable diameter of small and medium-sized gear hobbing machines typically ranges from 200 to 500 mm, corresponding to the maximum gear diameter that can be processed. Tool mounting dimensions, including the hob spindle diameter and the adjustment range of the hob holder, encompass factors such as the hob spindle diameter and the hob holder’s adjustment range. Different hob sizes require different spindle diameters and mounting methods to ensure stable tool installation and accurate transmission. The travel range encompasses the worktable’s axial travel distance and radial feed rate, limiting the range of motion during gear processing and impacting machining flexibility and adaptability.
The key dimensions of commonly used gear hobbing machines vary depending on the model and specification, resulting in a standardized parameter system. For example, the Y3150E gear hobbing machine, a common domestic model, has the following key dimensions: a 500mm worktable diameter, with a maximum machining diameter of 500mm when the workpiece center distance is 200mm, and 320mm when the center distance is 800mm; a 50mm spindle bore diameter, which accommodates centers or spindles up to 50mm in diameter; a 100-350mm distance from the hob spindle centerline, and a 32mm diameter, suitable for mounting standard 32mm bore hobs; a 320mm worktable axial travel, and a radial feed rate range of 0.04-3mm/r. Large gear hobbing machines, such as the Y3180, feature a worktable diameter of up to 800mm, a maximum gear diameter of 800mm, an 80mm spindle bore, and a 50mm hob spindle diameter. These dimensions are larger than those of small and medium-sized hobbing machines to accommodate large gear machining. These dimensions are designed to meet the specific requirements of gear machining, ensuring the equipment can meet the machining conditions for gears of varying sizes.
The center distance of a gear hobbing machine is a critical dimension. It refers to the distance between the centerline of the hob spindle and the centerline of the worktable spindle, directly affecting the module and diameter range of the gear that can be machined. The center distance determines the relative position between the hob and the workpiece and requires precise adjustment during machining based on the gear’s module and number of teeth. Smaller module gears require a smaller center distance, while larger module gears require a larger center distance. For example, the Y3150E gear hobbing machine has a maximum center distance of 350mm and can machine gears with a module of 1-10mm; the Y3180 gear hobbing machine has a maximum center distance of 500mm and can machine gears with a module of 1-16mm. The accuracy of the center distance adjustment significantly affects the pitch error and tooth profile accuracy of the gear. Therefore, gear hobbing machines are typically equipped with precise dials and fine-tuning mechanisms to ensure that the center distance adjustment error is controlled within 0.01mm, ensuring that the machined gears meet the required precision grade.
The dimensions associated with tool installation and adjustment on a gear hobbing machine are crucial for ensuring correct hob positioning and accurate cutting angles. The hob must be mounted concentrically with the hob spindle, with radial and axial runout kept within acceptable limits. Typically, radial runout is required to be no greater than 0.01mm, and axial runout is required to be no greater than 0.005mm. This places stringent demands on dimensions such as the hob spindle diameter accuracy and the perpendicularity of the shoulder end face. The lateral and longitudinal adjustment ranges of the hob holder are also crucial. Lateral adjustment adjusts the axial position of the hob to accommodate gears of varying widths, while longitudinal adjustment adjusts the hob’s helix angle, aligning the hob’s helix direction with that of the gear being machined to ensure a correct tooth profile. For example, the hob holder on the Y3150E gear hobbing machine has a lateral adjustment range of ±50mm, while longitudinal adjustment accommodates gears with a helix angle within ±30°. In addition, the diameter and length of the hob’s shank must also match the tool installation dimensions of the gear hobbing machine to avoid vibration during machining due to the shank being too long or too thin, which can affect the surface quality of the gear.
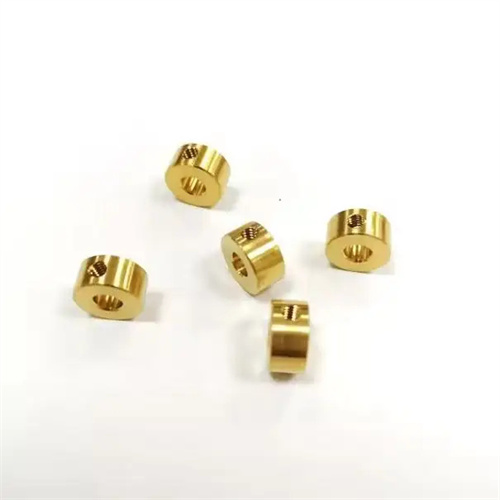
The dimensions associated with workpiece clamping directly affect the stability and positioning accuracy of gear machining and are the basis for ensuring gear machining quality. The diameter of the worktable of the gear hobbing machine determines the maximum workpiece diameter that can be clamped. The flatness and end face runout of the worktable are required to be high. Usually, the flatness is no more than 0.03mm/1000mm, and the end face runout is no more than 0.02mm to ensure the verticality of the workpiece after installation. The spindle aperture is used to install the mandrel or center. The diameter of the mandrel should match the spindle aperture. The clearance is generally controlled between 0.005-0.01mm to ensure the positioning accuracy of the mandrel. The center distance refers to the maximum distance between the two centers. It determines the maximum length of the gear that can be processed. For example, the maximum center distance of the Y3150E gear hobbing machine is 800mm, and it can process shaft gear workpieces with a length of less than 800mm. Disk-type gears are typically clamped using flanges or chucks. The worktable’s T-slot size and placement are crucial. The width and depth of the T-slots should match the fixture’s bolt size to ensure a secure fit. Proper design and control of these clamping-related dimensions can effectively reduce workpiece installation errors and improve gear machining accuracy and consistency.
