Rack accuracy
As an important transmission component, the accuracy of the rack directly affects the smoothness, accuracy and service life of the mechanical transmission. The rack accuracy mainly includes pitch accuracy, tooth shape accuracy, tooth direction accuracy and tooth surface roughness. Pitch accuracy is one of the core indicators of rack accuracy. It refers to the distance deviation between the tooth surfaces of two adjacent teeth on the same side, including the pitch limit deviation and the pitch cumulative error. The pitch limit deviation is the difference between a single pitch and the nominal pitch, while the pitch cumulative error is the maximum value of the cumulative deviation of multiple pitches within a certain length range of the rack. For example, for a rack with grade 7 accuracy, the pitch limit deviation is ±0.02mm, and the pitch cumulative error within a length of 300mm shall not exceed 0.05mm. Insufficient pitch accuracy will cause impact and vibration when the gear and rack are meshing, affecting transmission accuracy and efficiency.
Tooth profile accuracy refers to the degree of conformity of the rack tooth profile to the theoretical involute. Its errors primarily include profile deviation and total profile deviation. Profile deviation is the maximum distance between the actual tooth profile and the theoretical involute, while total profile deviation is the total offset of the actual tooth profile from the theoretical involute. Profile accuracy significantly impacts rack meshing performance. Excessive profile deviation reduces tooth contact area, increases local stress, exacerbates tooth wear, and even causes noise and vibration. For high-precision racks, such as machine tool feed racks, profile deviation is generally required to be controlled within 0.01-0.02mm, requiring high-precision machining equipment and tooling. Furthermore, rack tooth profile accuracy is also crucial. Profile accuracy refers to the deviation in parallelism between the tooth contact line and the rack reference plane. Profile deviation results in uneven contact between the gear and rack meshing, impacting transmission smoothness. For long racks, profile deviation should not exceed 0.03mm per meter.
Numerous factors influence rack accuracy, primarily including machining equipment accuracy, tool accuracy, machining process, and measurement methods. The precision of machining equipment is fundamental to rack accuracy. For example, the guideway straightness and spindle rotation accuracy of milling and grinding machines directly impact rack machining accuracy. For example, straightness errors in milling machine guideways can cause rack tooth profile errors during machining, while radial runout of the spindle can affect pitch accuracy. Tool accuracy is equally critical. Rack milling cutters or rack hobs are commonly used. The tool’s tooth profile accuracy and mounting accuracy are transferred to the rack, so the tool must undergo precision grinding and inspection to ensure a higher accuracy level than the rack. The rationality of the machining process, such as the choice of cutting parameters, cooling and lubrication conditions, and workpiece clamping method, can also impact rack accuracy. Improper machining processes can lead to rack deformation or machining errors.
Measuring rack accuracy is an important step in ensuring its quality. Commonly used measuring tools and methods include pitch gauges, tooth profile gauges, and laser interferometers. Pitch gauges can be used to measure pitch deviation and cumulative pitch error. By placing a probe in contact with the tooth surface, each tooth is measured and the data is recorded. After data processing, the pitch error value is obtained. A tooth profile gauge is specifically used to measure tooth profile deviation. It uses an optical system to compare the actual tooth profile with the theoretical involute, directly displaying the magnitude of the tooth profile deviation. For measuring the tooth direction accuracy of long racks, a laser interferometer can be used to calibrate the rack’s tooth direction through the linearity of the laser beam, with a measurement accuracy of up to 0.001mm/m. In addition, a surface roughness tester is generally used to measure the tooth surface roughness of the rack. The tooth surface roughness of high-precision racks is required to reach Ra0.8~1.6μm to reduce friction and wear during meshing.
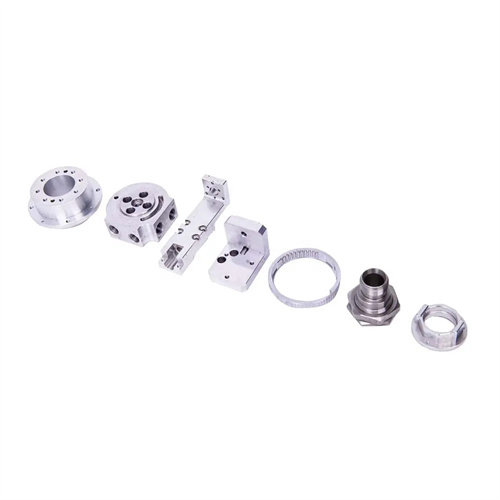
Process measures to improve rack accuracy must be implemented throughout the entire manufacturing process, from roughing to final finishing. During the roughing stage, high-quality materials such as 45 steel and 40Cr should be selected, and appropriate heat treatments, such as normalizing or quenching and tempering, should be performed to eliminate internal stresses, improve cutting performance, and minimize post-processing deformation. During machining, a rational processing sequence should be adopted, starting with roughing to remove most excess stock, followed by semi-finishing and finishing, gradually improving accuracy. After roughing, aging treatment is required to eliminate machining stresses and prevent post-finishing deformation. During finishing, high-precision machining equipment, such as CNC rack milling machines and precision grinders, should be selected, along with high-precision tools and fixtures to ensure process stability. Furthermore, cutting parameters should be strictly controlled, with low feed rates and cutting depths, and adequate cooling and lubrication to minimize the impact of cutting heat and forces on rack accuracy. By comprehensively applying a series of process measures, rack accuracy can be effectively improved to meet the requirements of various applications.
