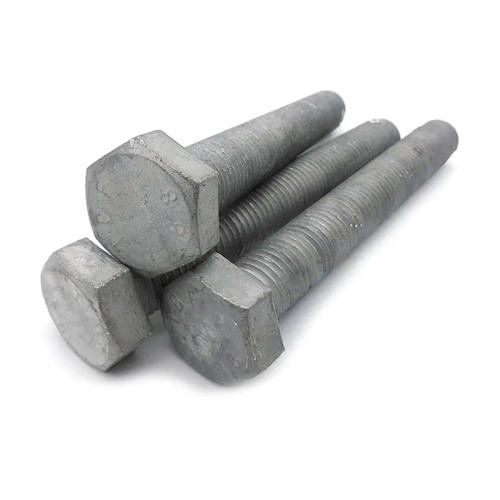
Turning of formed surface workpieces
Forming surface workpieces refer to parts with curved contours, such as handles, balls, and cams. Ensuring contour accuracy and surface quality is crucial for turning these surfaces. Common machining methods include two-handed control, forming tool turning, profiling, and CNC turning. The two-handed control method involves simultaneously operating the lathe’s longitudinal and transverse feed handles, moving the tool tip along the contour of the forming surface to create the formed surface. This method is suitable for single-piece, small-batch production and machining simpler surfaces. Operators must master bimanual coordination techniques. Based on the curved contour on the drawing, the tool feed speed and direction are controlled visually and empirically. Multiple measurements and corrections are required during the machining process to ensure the correct curved shape. For example, when turning a sphere, the workpiece is first turned into a stepped shape, and then the tool is controlled by both hands to trim along the arc, gradually forming a complete spherical surface. This method requires high operator skill and low machining efficiency, but offers simple equipment and high flexibility.
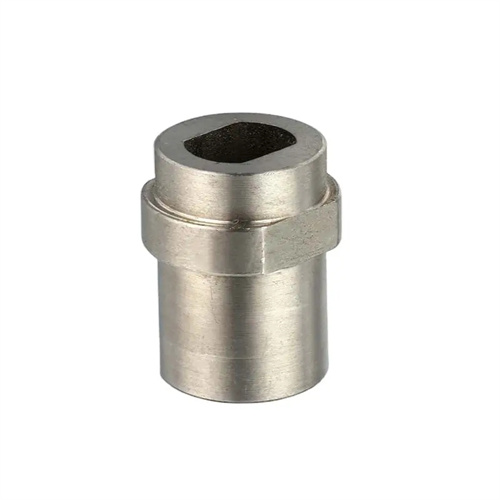
The form tool turning method (template tool turning method) uses a form tool with the same shape as the workpiece’s contour to turn the workpiece’s surface in a single feed. This method is suitable for mass production and for surfaces with regular shapes, such as arcs and curved surfaces. The blade shape of the form tool should conform to the contour of the workpiece’s forming surface. Based on the tool’s structure, form tools can be categorized as flat, prismatic, and round. Flat form tools have a simple structure, similar to conventional turning tools, with the blade ground to the contour of the workpiece’s forming surface, making them suitable for machining simpler surfaces. Prismatic form tools offer greater rigidity and can be reground after blade wear, making them suitable for machining surfaces requiring higher precision. Round form tools offer a long service life and can be reused simply by rotating the tool body after blade wear, making them suitable for machining larger surfaces. When using a form tool for turning, careful attention should be paid to the tool’s mounting position. The centerline of the blade’s symmetry should be aligned with the workpiece’s axis to avoid shape errors in the machined surface. Furthermore, the cutting speed should be kept low to prevent excessive tool wear.
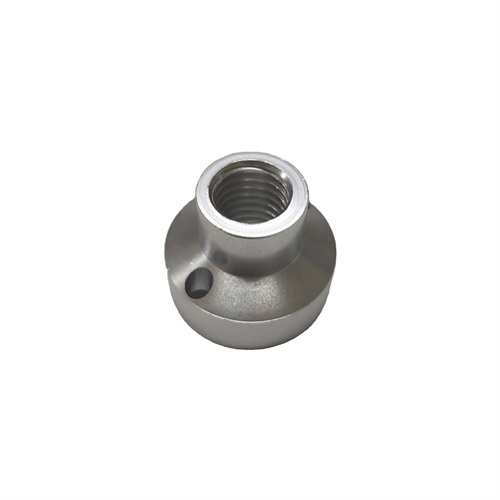
The profiling method for turning a formed surface utilizes a lathe’s profiling mechanism, allowing the tool to follow the contour of a template. This method is suitable for mass production and offers high precision and efficiency. The profiling mechanism typically consists of a template, a contact, a lever, and a tool holder. The curved contour of the template matches the workpiece’s forming surface. The contact slides across the template, driving the tool holder via the lever to make a corresponding feed motion, thereby turning a formed surface identical to the template. Profiling methods can be categorized as mechanical, hydraulic, and electrical. Hydraulic profiling offers fast response and high precision, making it suitable for machining complex formed surfaces. When using the profiling method, the accuracy of the template directly affects the workpiece’s machining accuracy. Therefore, the template must be precisely machined and inspected to ensure a profile error of no more than 0.01 to 0.03 mm. During the profiling process, appropriate pressure must be maintained between the contact and the template. Excessive pressure can cause contact bounce, affecting machining accuracy; excessive pressure can accelerate wear on the template and contact.
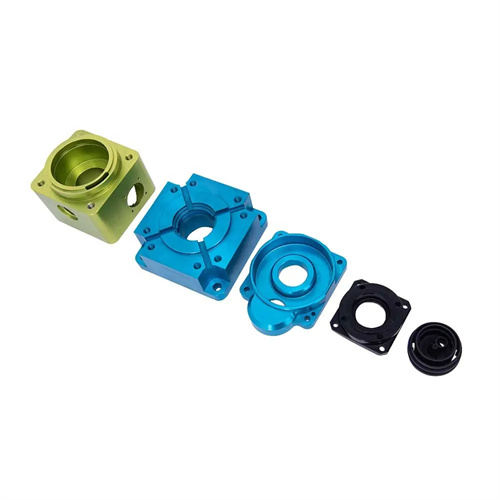
CNC turning utilizes a CNC lathe to machine forming surfaces. By programming a CNC program to control the tool’s motion, the process automates the machining of complex surfaces. This method is suitable for both single-piece, small-batch, and large-volume production, and is particularly well-suited for machining complex shapes and surfaces requiring high precision. During CNC turning, a 3D model is first drawn based on the part drawing. CAM software then generates the tool path and CNC program. The program contains the coordinates of each point on the forming surface, as well as parameters such as the tool feed rate and spindle speed. The lathe precisely controls the tool’s motion according to the program’s instructions, producing the desired surface. CNC turning offers high precision, excellent dimensional consistency, and surface roughness levels of Ra1.6 to 0.8μm or higher. It can also produce complex curves, such as parabolas and hyperbolas, that are difficult to achieve using mechanical profiling. During machining, the CNC system monitors the machining status in real time, allowing for timely parameter adjustments to ensure consistent quality.
The quality control of turning workpieces on formed surfaces needs to start from many aspects such as tool selection, cutting parameters, and measurement methods. Tool selection should be determined according to the shape of the formed surface and the workpiece material. Carbide tools can be used when processing steel, and high-speed steel or diamond tools can be used when processing non-ferrous metals. The tool tip radius should be adapted to the minimum curvature radius of the formed surface to avoid overcutting. In terms of cutting parameters, a larger cutting depth and feed rate can be used during rough turning to improve efficiency; during fine turning, the cutting depth and feed rate need to be reduced, and a higher cutting speed should be used to ensure surface quality. Common tools for measuring formed surfaces include templates, vernier calipers, micrometers, universal angle rulers, and three-coordinate measuring machines. For simple formed surfaces, templates or calipers can be used for measurement; for complex formed surfaces, a three-coordinate measuring machine is required for precise measurement to check whether the coordinate values of each point are within the allowable error range. In addition, during the machining process, attention should be paid to cooling and lubrication to prevent chip accumulation and scratching of the machined surface. For thin-walled workpieces with formed surfaces, special fixtures or additional supports should be used to prevent workpiece deformation and ensure the shape and dimensional accuracy of the formed surface. The machining quality of formed surface workpieces can be effectively guaranteed by rationally selecting machining methods, optimizing process parameters, and strictly inspecting quality.
