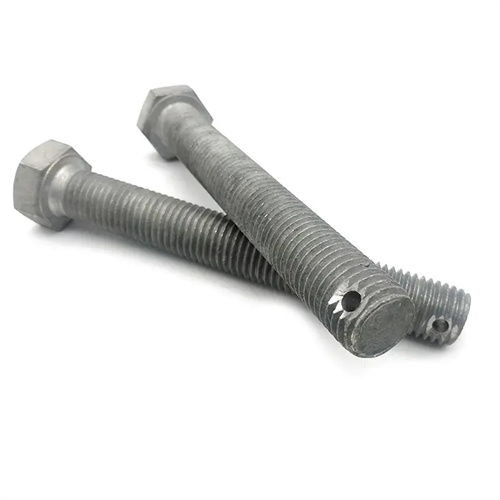
Dimension Control Method When Turning a Cone
When turning a cone, dimensional control is the key to ensuring the accuracy of the conical part, which mainly includes two aspects: taper accuracy control and diameter size control. Common control methods include trial cutting, calculation, template method, and special measuring tool measurement method. The trial cutting method is the most basic and most commonly used method, which is suitable for single-piece small-batch production. Through multiple trial cutting, measurement, and adjustment of the tool position, the required size is gradually approached. During the trial cutting, the tool position is roughly adjusted according to the calculated value. After turning a small section of the conical surface, the machine stops and measures. The distance that the tool needs to be adjusted is calculated based on the measurement results. After adjustment, trial cutting is performed again until the size meets the requirements. For example, when turning the outer conical surface, if the measurement shows that the diameter of the large end is too small, the tool needs to be adjusted away from the workpiece. The adjustment amount is calculated based on the diameter deviation and the cone half-angle to ensure that each adjustment can effectively reduce the dimensional error.
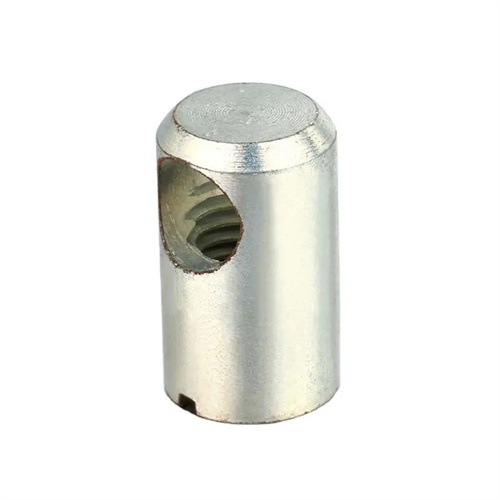
The calculation method precisely controls the taper size by calculating the tool adjustment amount, making it suitable for applications requiring high precision. When turning a taper using the sliding plate method, if the large end diameter D, small end diameter d, taper length L, and the lathe slide scale are known, the slide’s rotation angle and feed rate can be determined by calculation. When diameter adjustment is required, the tool’s lateral adjustment amount, Δx, is calculated based on the difference ΔD between the measured actual and required diameters. The formula is Δx = ΔD / (2tanα), where α is the cone half-angle. For example, if the cone half-angle is 3° and the actual large end diameter is 0.2mm smaller than the required value, the tool’s lateral adjustment amount, Δx, equals 0.2/(2×tan3°) ≈ 0.2/(2×0.0524) ≈ 1.91mm. By precisely adjusting the tool position, the diameter can be effectively controlled. The calculation method requires accurate parameters and precise calculations, requiring a high level of operator skill.
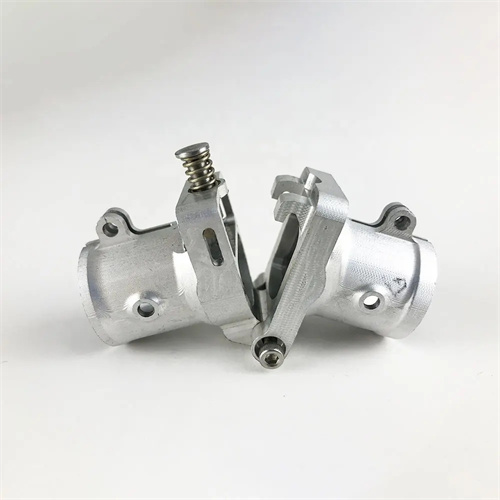
The template method is suitable for controlling taper accuracy in mass production. It uses a standard template with the same taper as the conical surface to test whether the taper of the cone is qualified. The template is generally made of steel plate, and the angle of its working surface is equal to the half-angle of the cone. When in use, the template is attached to the conical surface of the workpiece and the gap between the template and the workpiece is observed. If the gap is uniform and no larger than 0.03mm, the taper is qualified; if the gap is too large or uneven, the tool angle needs to be adjusted and re-turned. The template method is simple to operate and highly efficient, but it can only control the taper accuracy and cannot directly control the diameter size. It needs to be used in conjunction with other measuring tools such as calipers and micrometers. For standard cones, such as Morse tapers and metric tapers, the corresponding standard plug gauges or ring gauges can be used for inspection. The contact situation is judged by the coloring method. The contact area should be greater than 80%, and the contact should be uniform, indicating that the taper is qualified.
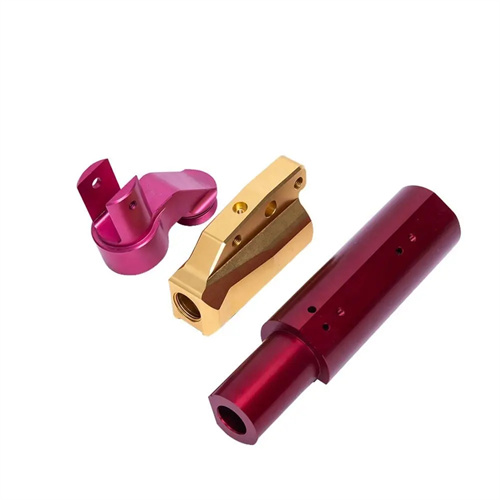
Specialized measuring tools are suitable for dimensional control of high-precision conical parts. Commonly used measuring instruments include taper gauges, universal protractors, and optical goniometers. Taper gauges are divided into plug gauges and ring gauges. Plug gauges are used to measure internal tapers, while ring gauges are used to measure external tapers. Gauges typically have graduated lines or steps to control the diameter of the cone’s major or minor end. When using the gauge, the gauge is placed against the workpiece’s conical surface. If the workpiece’s end face falls between the two graduated lines on the gauge, the diameter is considered acceptable. Universal goniometers can directly measure the cone’s half-angle with an accuracy of up to 5′ or 2′. To measure, place the two measuring surfaces of the protractor against the cone, read the angle, and compare it to the required cone half-angle. A difference within the allowable range indicates acceptance. Optical goniometers achieve even higher accuracy, reaching up to 1″, making them suitable for inspecting precision conical parts. Their optical system magnifies the cone’s angle, providing accurate and intuitive readings and ensuring high-precision taper control.
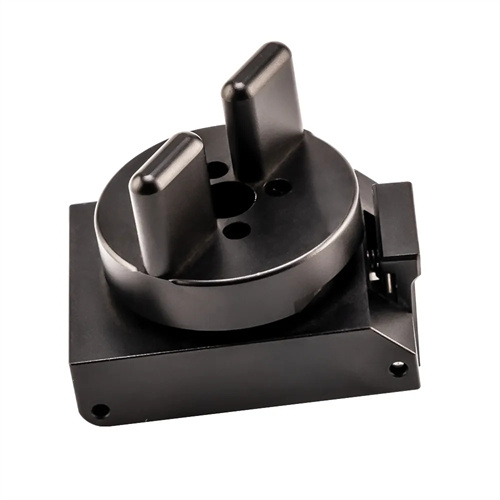
Dimensional control during taper turning requires a combination of appropriate machining processes and operating techniques to ensure ultimate accuracy. Before machining, carefully check the lathe’s accuracy, such as the parallelism between the spindle axis and the guideway, and the accuracy of the slide’s rotation angle, to ensure the equipment is in good condition. When clamping the workpiece, ensure that the workpiece axis coincides with the lathe spindle axis to avoid taper errors caused by eccentric clamping. During turning, maintain sharp tools to prevent tool wear, which increases cutting forces, vibration, and dimensional fluctuations. For long tapers, use segmented turning to prevent workpiece deformation that could affect overall dimensional accuracy. During finish turning, maintain a small and uniform feed rate and a moderate cutting speed to ensure surface quality and dimensional stability. Furthermore, ambient temperature also affects taper dimensions. Precision machining should be performed under constant temperature conditions to avoid thermal expansion and contraction of the workpiece and measuring tools due to temperature fluctuations, which could affect measurement accuracy. By combining various dimensional control methods and process measures, the dimensional and taper accuracy of tapered parts can be effectively guaranteed.
