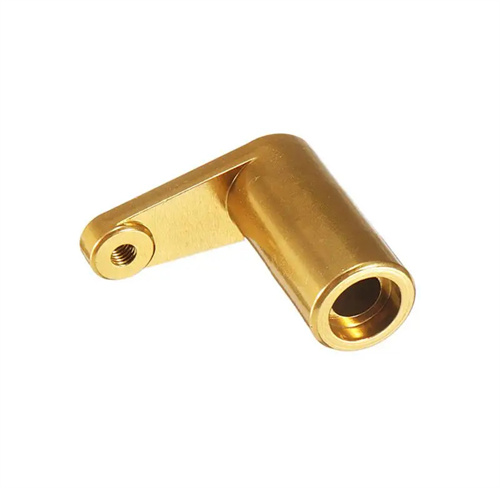
High-temperature alloy turning
Superalloys are a class of alloys that maintain high strength, oxidation resistance, and toughness at temperatures exceeding 600°C. They are widely used in high-end equipment such as aircraft engines and gas turbines. Their high heat-resistant properties, combined with their high plasticity and low thermal conductivity (only 1/5 to 1/3 that of 45 steel), make turning them challenging. High-temperature alloys undergo severe plastic deformation during cutting, resulting in cutting forces 30% to 50% greater than those encountered when machining ordinary steel. Cutting heat is concentrated in the cutting zone, driving tool temperatures as high as 800 to 1000°C and increasing tool wear. Furthermore, elements such as titanium and aluminum in high-temperature alloys chemically react with the tool material, causing tool sticking and compromising surface quality. Therefore, turning high-temperature alloys requires special attention in terms of tool selection, cutting parameter optimization, and process control.
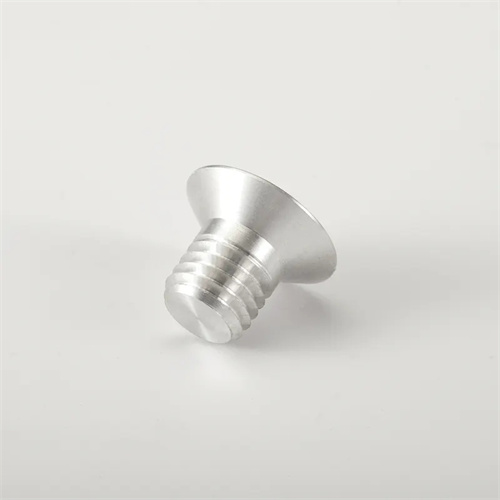
Tool materials for high-temperature alloy turning must meet the requirements of high-temperature resistance, high wear resistance, and anti-adhesion. Commonly used tool materials include ceramic tools, cubic boron nitride (CBN) tools, and coated carbide tools. Ceramic tools (such as Al2O3-TiC composite ceramics) have extremely high hardness (HV 2000-2500) and heat resistance, maintaining cutting performance at high temperatures. They are suitable for machining nickel-based high-temperature alloys (such as GH4169), but they are more brittle and are suitable for continuous cutting. CBN tools have higher hardness (HV 3000-5000), excellent wear resistance, and chemical stability, making them ideal for machining high-temperature alloys, especially for high-speed finish turning. They can achieve surface roughnesses of Ra 0.8-1.6μm, but are expensive and not suitable for interrupted cutting. Coated carbide tools (such as WC-Co alloys coated with TiAlN) effectively reduce tool wear through the thermal insulation and lubrication of the coating. They are suitable for rough and semi-finish turning of high-temperature alloys and offer a better price-performance ratio than ceramic and CBN tools.
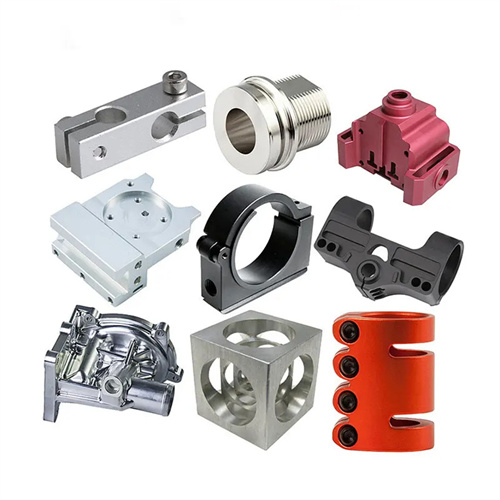
Tool geometry significantly impacts high-temperature alloy turning performance, aiming to reduce cutting forces, lower cutting temperatures, and enhance tool strength. The rake angle is typically between -5° and 5°. A smaller rake angle, or even a negative rake angle, can enhance tool edge strength and prevent chipping. A clearance angle of 6 ° to 10° reduces friction between the flank and the workpiece while creating space for the cutting fluid to flow in. The lead angle ranges from 45° to 90°. A 90° lead angle reduces radial cutting forces, making it suitable for machining thin-walled high-temperature alloy parts and preventing workpiece deformation. A 45° lead angle provides better heat dissipation and is suitable for rough turning. The tool nose radius ranges from 0.2 to 0.8 mm. A smaller nose radius reduces cutting forces and heat, but increases surface roughness. The optimal tool tip radius should be balanced based on machining accuracy. Furthermore, the tool’s cutting edge should be passivated (passivation radius 0.02 to 0.05 mm) to improve impact resistance and reduce tool sticking.
Cutting parameters for high-temperature alloy turning require strict control to balance machining efficiency and tool life. For high-temperature alloy turning, ceramic tools should maintain a cutting speed of 50-100 m/min; CBN tools can achieve 80-200 m/min; and coated carbide tools should be kept within 30-80 m/min. Excessive cutting speeds can lead to rapid tool wear. The feed rate is generally 0.05-0.2 mm/r, with a lower value (0.05-0.1 mm/r) used for finish turning to ensure surface quality. A higher feed rate (0.1-0.2 mm/r) can be used for rough turning, but excessive feed rates should be avoided, as they can lead to a significant increase in cutting forces. The depth of cut is determined by the machining allowance, ranging from 1-3 mm for rough turning to 0.1-0.5 mm for finish turning. The depth of cut should be kept to a minimum to prevent tool overload. The selection of cutting fluid is crucial. Extreme pressure emulsion or special high-temperature alloy cutting oil should be used. The cutting fluid should be sprayed directly into the cutting area through a high-pressure cooling system (pressure 5~10MPa) to force cooling and reduce tool wear and sticking.
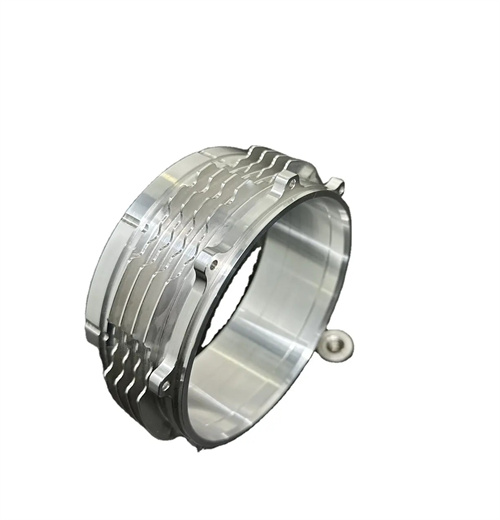
Process measures and operating techniques for high-temperature alloy turning are critical to ensuring machining quality. Before machining, the workpiece must undergo stress relief treatment, such as aging, to reduce deformation during machining. When clamping the workpiece, a rigid fixture, such as a hydraulic chuck with a center, should be used. For thin-walled parts, specialized fixtures or additional supports can be used to prevent deformation from the cutting forces. The machining sequence should follow the principle of “roughing first, finishing second, and from the outside to the inside.” After rough turning, an intermediate inspection is performed to measure dimensional and positional errors. Finish turning is then performed only after passing the inspection. During finish turning, all surface machining should be completed in a single clamping to minimize clamping errors. Tool wear should be monitored in real time during machining. If flank wear exceeds 0.3mm or chipping occurs, the tool should be replaced immediately. For workpieces with intermittent cuts or notches, the cutting speed and feed rate should be reduced to minimize tool impact. Through appropriate tool selection, parameter settings, and process control, stable turning of high-temperature alloys can be achieved, ensuring machining accuracy and surface quality.
