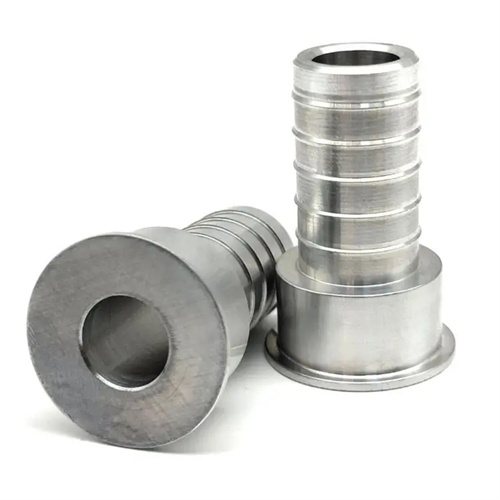
Reduce thermal deformation, elongation and stress deformation of slender shafts
When turning slender shafts, thermal deformation and elongation, as well as deformation under stress, are two key issues that affect machining accuracy, directly leading to defects such as bending, taper, and dimensional deviations in the workpiece. Slender shafts generally refer to shaft parts with an aspect ratio greater than 20. Due to poor rigidity and slow heat dissipation, they are very prone to deformation under the action of cutting forces, cutting heat, and clamping forces. For example, if no preventive measures are taken during turning of a slender shaft made of 45 steel with a diameter of 20mm and a length of 500mm, the thermal deformation and elongation can reach 0.5-1mm, and the deformation under stress can reach 0.1-0.3mm, far exceeding the IT8 level precision requirements. Therefore, it is necessary to formulate solutions from multiple dimensions such as process design, tool optimization, cooling system, and clamping method to systematically reduce the impact of the two types of deformation on machining quality.
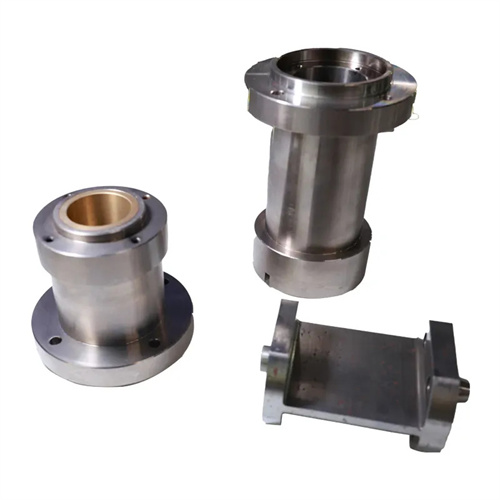
Controlling cutting heat generation and conduction is key to minimizing thermal deformation and elongation. During the cutting process, 70%-80% of the cutting heat is carried away by the chips, while the remaining heat is transferred to the workpiece and tool, causing axial elongation of slender shafts due to increased temperature. Practice has shown that increasing the cutting speed from 80 m/min to 150 m/min can increase workpiece temperature by 50-80°C and thermal deformation and elongation by over 40%. Therefore, low cutting speeds (60-100 m/min) and high feed rates (0.2-0.3 mm/r) are necessary to reduce heat generation per unit time. Furthermore, a high-pressure, high-flow cooling system is employed, injecting an emulsion directly into the cutting zone at a pressure of 0.3-0.5 MPa, improving cooling efficiency by 30% compared to conventional cooling methods. For slender shafts requiring high precision, constant cutting fluid temperature control can be employed to maintain a stable oil temperature of 20±2°C, preventing thermal deformation exacerbated by ambient temperature fluctuations. In addition, reserving a telescopic compensation section at the shaft end and removing it after processing is also an effective means of offsetting thermal expansion.
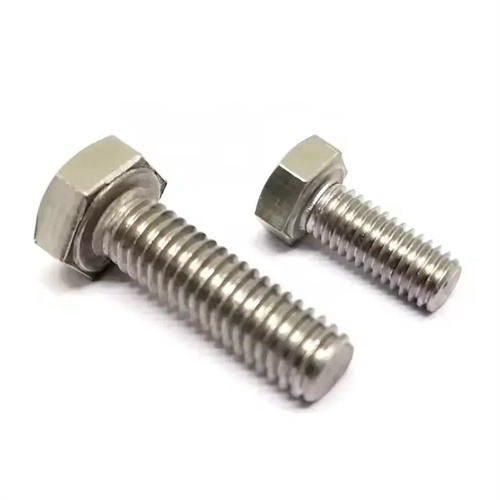
Optimizing clamping methods and auxiliary supports can significantly reduce stress-induced deformation. Traditional clamping with a single clamp and a single push-up mechanism can generate radial forces on slender shafts at the chuck end, causing the workpiece’s center section to bend and form a “drum-shaped” error. Improvements include using an axially positioned chuck (such as a dial- driven heart-shaped chuck) to convert radial clamping force into axial thrust. This, combined with a tailstock spring-loaded center (with an axial expansion and contraction of 0.2-0.5mm), allows the workpiece to freely expand and contract. For ultra-slender shafts with an aspect ratio greater than 30, a steady rest or center rest is required for auxiliary support. The steady rest, with three evenly distributed support jaws, presses against the machined surface of the workpiece, offsetting radial cutting forces. During installation, the contact pressure between the support jaws and the workpiece must be uniform (usually monitored with a dial indicator, with pressure fluctuations not exceeding 0.01MPa). The center rest is used for segmented machining, moving every 50-100mm. The support points must be pre-machined with process rings, with a diameter 0.5-1mm larger than the final workpiece dimensions, to avoid damaging the machined surface. A case study shows that by using a double-track tool holder with an elastic center, the stress deformation of the slender shaft is reduced from 0.25mm to less than 0.05mm.
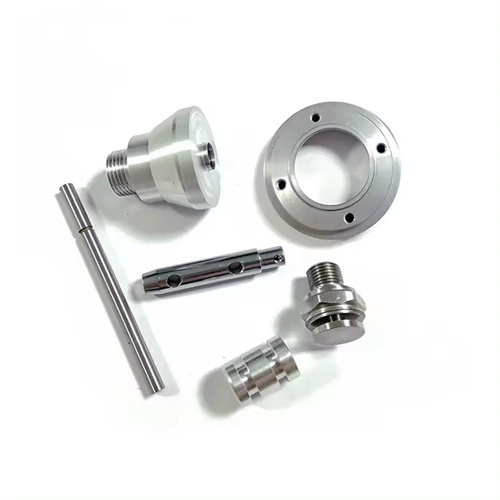
Tool geometry and cutting path design influence both types of deformation. A rake angle of 15°-20° reduces cutting forces, a clearance angle of 8°-12° lowers flank friction, and a lead angle of 90°-93° converts radial cutting forces into axial forces, minimizing radial deformation. The tool tip radius should be controlled within 0.2-0.5mm. A larger radius can easily cause vibration, while a smaller radius can increase surface roughness. A segmented cutting path, from ends to center, is used to prevent workpiece bending due to excessive force on one end. During roughing, a 0.5-1mm finishing allowance is reserved, and the back cutting depth of each pass decreases from the center to the ends (e.g., from 1mm to 0.3mm) to balance the forces applied to each section. For stepped, slender shafts, the larger diameter section should be machined first, followed by the smaller diameter section, using the rigid support of the larger diameter section to minimize deformation in the smaller section. Experimental data show that after optimizing tool parameters, cutting force can be reduced by 20%-30%, indirectly reducing stress deformation and heat generation.
Real-time monitoring and compensation technology during the process are key to quality assurance. A laser diameter gauge can be installed on CNC lathes to measure workpiece diameter changes in real time. If deformation exceeds 0.02mm, the tool feed path is automatically adjusted to compensate. A real-time workpiece temperature monitoring system (such as an infrared temperature sensor) feeds the temperature signal back to the CNC system, automatically correcting the feed rate by calculating the thermal expansion coefficient (approximately 11.5×10^-6/°C for steel). For mass-produced slender shafts, a closed-loop “test-cut-measure-correct” process can be adopted: After the first piece is machined, a coordinate measuring machine is used to measure straightness and diameter error along the entire length. A deformation error model is then established, and G-code compensation is applied during subsequent processing. After implementing this technology on a certain automotive drive shaft production line, the straightness pass rate for slender shafts increased from 75% to 99%, and the dimensional deviation rate due to thermal deformation dropped to below 0.5%. In addition, after processing is completed, the workpiece needs to be hung vertically or placed horizontally on a V-shaped frame for natural aging for 24 hours to release residual stress and avoid secondary deformation during subsequent use.
