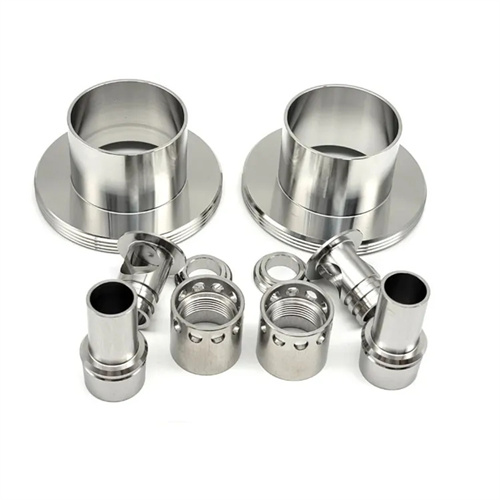
Turning of alloy steel bevel gear multi-start worm
Alloy steel bevel gear multi-start worms are critical components in mechanical transmission systems. Their turning quality directly impacts transmission accuracy, load capacity, and service life. These components are typically manufactured from high-strength alloy steels such as 20CrMnTi and 40CrNiMo, which offer high hardness, toughness, and wear resistance. However, this also presents significant challenges in turning. The turning process requires not only ensuring the accuracy of the worm’s helix, tooth profile, and surface quality, but also taking into account parameters such as the taper and tooth thickness of the bevel gear. This requires systematic planning across multiple aspects, including tool selection, cutting parameter optimization, and clamping design.
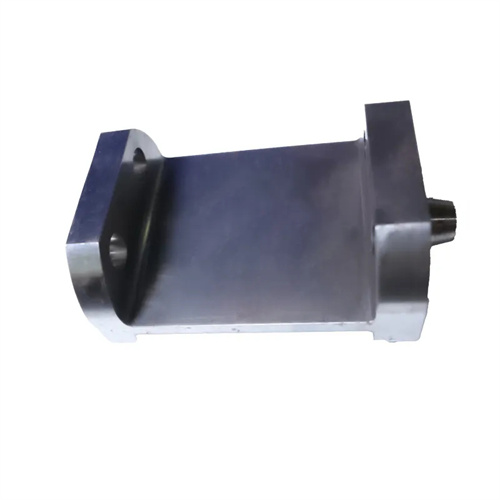
The proper selection of cutting tools is essential for turning alloy steel bevel gears with multiple worms. Due to the high strength and significant work hardening of the workpiece material, ordinary high-speed steel cutting tools are insufficient. Carbide or ceramic cutting tools are preferred. For turning the worm thread, specialized carbide thread turning tools can be used. Their geometric parameters must be precisely designed based on the worm’s module, number of starts, and helix angle. For example, a rake angle of 5°-10° and a relief angle of 8°-12° are generally used to reduce cutting forces and tool wear. For turning the bevel gears, a tapered turning tool is required, with the tool’s rake angle matching the bevel gear’s taper angle to ensure smooth cutting. Furthermore, tool coating is crucial. TiAlN-coated tools offer excellent wear and high-temperature resistance, effectively extending tool life and making them suitable for continuous cutting of high-strength alloy steels.
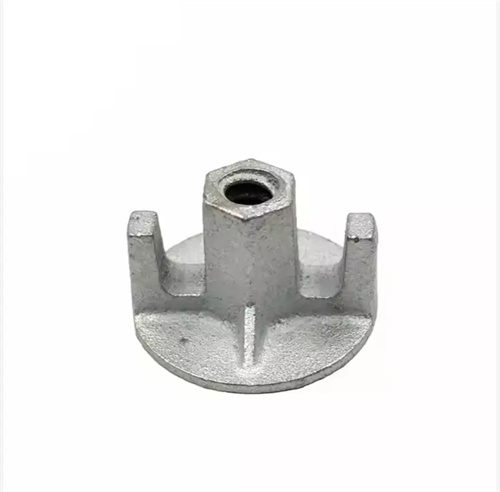
The setting of cutting parameters has a significant impact on turning quality and efficiency. In terms of cutting speed, due to the poor thermal conductivity of alloy steel, excessively high cutting speeds will cause the tool temperature to rise sharply and intensify wear, so it is usually controlled at 80-150m/min. The selection of feed rate needs to be combined with the number of worm heads and pitch. The feed rate of multi-start worms should be calculated according to the pitch per head. For example, for a worm with a module of 3mm and a number of heads of 2, the feed rate can be set to 0.2-0.3mm/r to ensure the smoothness of the thread surface. The back cutting amount should be gradually increased by layered cutting. The initial back cutting amount should not be too large, generally 0.5-1mm, and then decrease each time to avoid deformation of the workpiece or chipping of the tool due to excessive cutting force. When turning the bevel gear part, it is necessary to ensure the taper accuracy by adjusting the angle of the lathe small slide, and at the same time appropriately reduce the feed rate to reduce surface roughness.
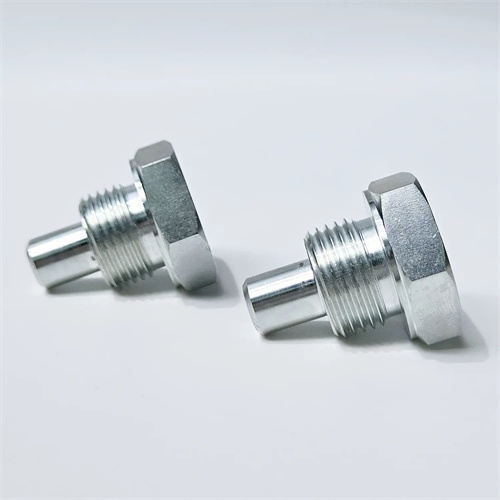
The rationality of the clamping method is directly related to the machining accuracy and stability of the workpiece. Due to the complex structure of the alloy steel bevel gear multi-start worm, with a bevel gear on one end and a multi-start worm on the other end, and a relatively large aspect ratio, deformation and vibration are easily generated during clamping. Therefore, a three-jaw self-centering chuck should be used to clamp one end, and a center support should be used on the other end to improve the rigidity of the workpiece. For parts with higher precision requirements, a steady rest or center rest is also required for auxiliary support. Especially when turning worm threads, the steady rest can effectively offset the radial cutting force and prevent the workpiece from bending. In addition, the workpiece needs to be aligned before clamping, and the radial runout and end face runout of the workpiece must be checked with a dial indicator to ensure that the error is controlled within 0.02mm to avoid deviations in the tooth shape and thread after processing due to eccentric clamping.
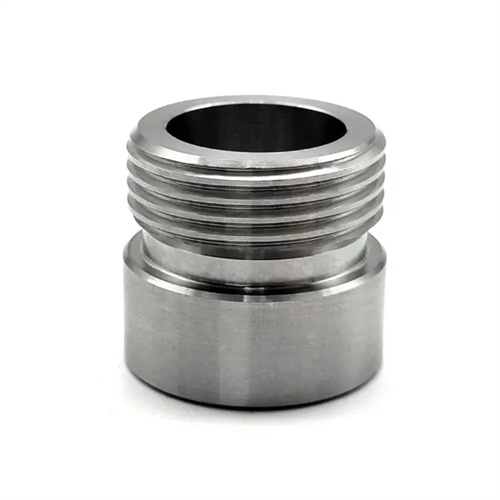
Process optimization and quality control during the turning process are critical to ensuring part performance. The turning sequence begins with rough turning the outer diameter and end faces of the bevel gear and worm gear to remove most of the excess stock. This is followed by tempering to eliminate internal stresses, followed by semi-finishing and finish turning. During finish turning, the bevel gear should be machined first, followed by the multi-start worm gear, to avoid damage to the pre-machined surface during subsequent machining. For multi-start worm thread machining, a line splitting method can be used. This method uses the lathe’s pulley mechanism or CNC system to achieve precise line splitting, ensuring that the lead error between each helix does not exceed 0.03mm. After machining, all part parameters must be inspected, including the worm gear’s module, pitch, and tooth angle; the bevel gear’s taper angle, tooth thickness, and tooth profile error. Corrections should be made as necessary by resharpening the tool or adjusting cutting parameters. Surface roughness should also be checked, generally requiring an Ra of 1.6μm or less to ensure smooth transmission and wear resistance.
