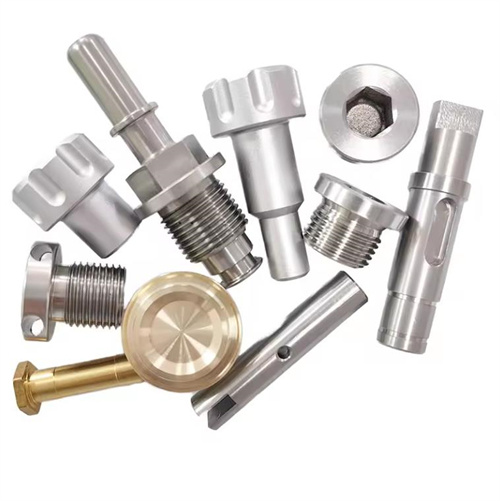
Turning of eccentric workpieces
An eccentric workpiece is one whose center of rotation does not coincide with its geometric center. These parts, such as eccentric shafts, eccentric sleeves, and crankshafts, are widely used in machine tools, internal combustion engines, pumps, and other equipment. The accuracy of their eccentricity directly affects the motion accuracy and balance performance of the equipment. The core difficulty in turning eccentric workpieces lies in ensuring the accuracy of the eccentricity (typically requiring ±0.01-0.05mm) and the coaxiality of each eccentric component, while also controlling vibration during machining (centrifugal force caused by the shifted center of gravity). For example, when machining a 45 steel eccentric shaft with an eccentricity of 10mm and a diameter of 50mm, an eccentricity error exceeding 0.03mm can increase the vibration amplitude of the assembled equipment by more than 50%. Therefore, when turning eccentric workpieces, the appropriate clamping method and machining method must be selected based on the workpiece structure, eccentricity, and precision requirements to ensure machining quality.
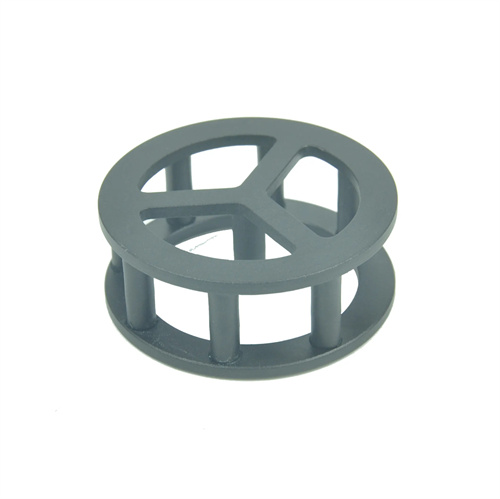
The three-jaw chuck copper padding method is a common method for turning small eccentric workpieces (eccentricity ≤ 5mm). It is simple to operate and low-cost. This method involves inserting a copper (or aluminum) sheet of a certain thickness between one jaw of the three-jaw chuck and the workpiece, shifting the workpiece’s geometric center away from the spindle’s center of rotation, thereby creating eccentricity. The copper sheet thickness is calculated as: x = 1.5e (x is the copper sheet thickness, e is the eccentricity). For example, for an eccentricity of 3mm, the copper sheet thickness is 4.5mm. During copper padding, the copper sheet should be clamped in the jaw opposite the eccentricity. A dial indicator should be used to align the workpiece’s outer diameter to ensure the eccentricity is accurate, with an alignment error of ≤0.01mm. To prevent deformation of the copper sheet under cutting forces, the sheet should be as wide as the workpiece’s clamping length, at least 3mm thick, and annealed (hardness ≤ HB80). This method is suitable for single-piece, small-batch production, with an eccentricity accuracy of ±0.03mm, such as in the machining of eccentric bearing sleeves and small eccentric cams. An agricultural machinery factory used the copper pad method to machine camshafts with an eccentricity of 2mm, achieving a 95% pass rate, meeting operational requirements.
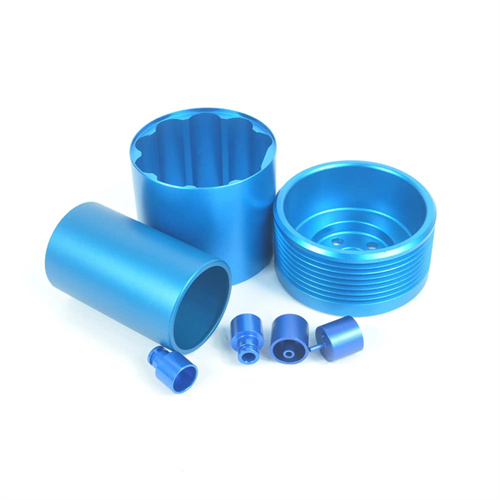
The double-center clamping method is suitable for eccentric shaft workpieces with an aspect ratio greater than 5, and can effectively ensure the coaxiality of each eccentric portion. This method requires drilling center holes on both end faces of the workpiece, but the position of the center hole must be offset from the geometric center of the workpiece by an eccentric distance e. The workpiece is supported between the spindle and tailstock by double ejectors to achieve eccentric machining. When drilling the center hole, a special marking tool (such as a height vernier caliper) is used to mark the eccentric center line on the end face, and then a sample punch is used to drill the hole to ensure that the center hole position error is ≤0.02mm. During machining, the workpiece is rotated by the dial, and the tool is fed axially. This method is suitable for machining multiple eccentric shafts (such as the connecting rod journal of a crankshaft). To improve efficiency, an eccentric center stand can be made, and the support claws of the standard center stand can be adjusted to the eccentric distance e to assist in supporting the middle part of the workpiece and reduce vibration. The eccentricity accuracy of the double-center clamping method can reach ±0.02mm, and the coaxiality is ≤0.01mm/m. A certain automobile engine factory uses this method to process crankshafts, and the eccentricity error is controlled within 0.015mm, with excellent balancing performance.
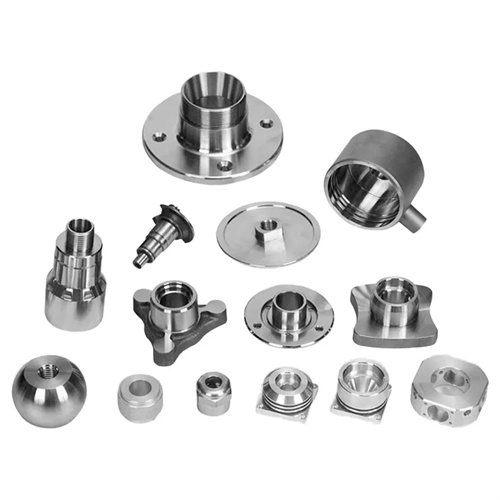
The eccentric chuck method is the preferred machining method for high-precision eccentric workpieces in mass production. It comes in two types: dedicated eccentric chucks and adjustable eccentric chucks. Dedicated eccentric chucks feature a fixed eccentricity and are suitable for high-volume production of a single product. For example, an eccentric sleeve with a 10mm eccentricity requires no alignment after clamping, and the eccentricity accuracy can reach ±0.01mm. Adjustable eccentric chucks use a graduated dial (with 0.01mm accuracy) to adjust the eccentricity, typically ranging from 0 to 50mm. This makes them suitable for small-batch production of multiple products. Adjustments require a dial indicator to calibrate the actual eccentricity to ensure consistency with the theoretical value. The eccentric chuck is mounted on the lathe spindle, and the workpiece is secured to it using a three- or four-jaw chuck. Its greatest advantages include secure clamping, low vibration during cutting, and the ability to use higher cutting parameters (such as a feed rate of 0.3mm/r). This method improves machining efficiency by 3-5 times compared to the copper pad method. A compressor factory uses an adjustable eccentric chuck to process crankshafts with an eccentricity of 8mm. The single-piece processing time is shortened from 15 minutes to 5 minutes, and the eccentricity consistency (extreme difference ≤ 0.02mm) is better than other methods.
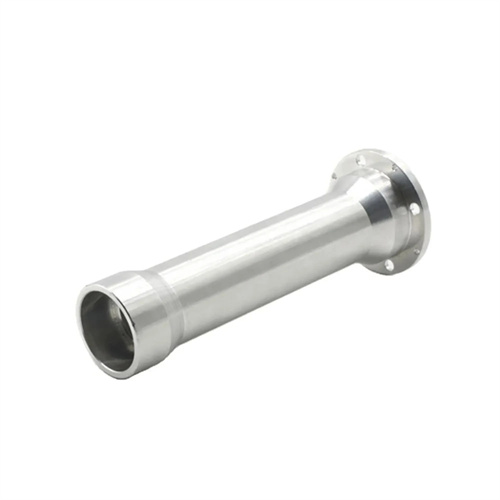
The faceplate – angle iron clamping method is suitable for processing eccentric workpieces with complex shapes (such as eccentric sleeves and eccentric parts with flanges), especially internally eccentric workpieces (where the center of the inner hole is eccentric to the center of the outer circle). This method fixes the workpiece to the faceplate using angle irons. The rotation center of the faceplate coincides with the eccentric center of the workpiece. Careful alignment using a dial indicator and iron plugs is required to ensure that the eccentricity error is ≤ 0.01mm . During clamping, the center of gravity of the workpiece must be balanced by a counterweight to avoid excessive centrifugal force during rotation (centrifugal force F=mrω² , where m is the mass of the workpiece, r is the eccentricity, and ω is the eccentricity) . = angular velocity), typically requiring an unbalance of ≤ 50g · mm . For machining internal eccentric sleeves, the outer diameter and end face can be machined first. Using the end face and outer diameter as a reference, the eccentric position of the inner hole is aligned on the faceplate, and the inner hole is bored. The faceplate-angle iron clamping method offers high flexibility, but requires a long alignment time (approximately 30-60 minutes per piece). It is suitable for single-piece, high-precision machining, such as eccentric positioning sleeves in molds, with an eccentricity accuracy of ±0.005mm.
Process parameters and quality control significantly impact the turning results of eccentric workpieces. Due to the centrifugal forces present when machining eccentric workpieces, cutting parameters must be more conservative than for conventional workpieces: reduce the cutting speed by 20%-30% (for example, from 100 m/min to 70-80 m/min for 45 steel) and the feed rate by 10%-20% (from 0.2 mm/r to 0.16-0.18 mm/r) to avoid increased vibration. Use rigid carbide tools (such as YT15) with a 90° lead angle to reduce radial cutting forces and a 0.5-1 mm tool tip radius to enhance cutting edge strength. The eccentricity must be measured multiple times during machining. This can be done using a dial indicator (taking the eccentricity as half of the difference between the maximum and minimum readings while the workpiece is rotating) or a dedicated eccentricity gauge. For critical eccentric workpieces, balancing tests are required after machining to eliminate imbalance (e.g., drilling shallow holes in the heavier areas) and ensure balancing accuracy reaches G6.3 (allowable imbalance ≤ 1.6mm/s at a speed of 1000 rpm). By strictly controlling cutting parameters and balancing accuracy, one electric motor manufacturer reduced the vibration amplitude of eccentric rotors from 0.1mm to below 0.02mm, reducing operating noise by 15dB.
