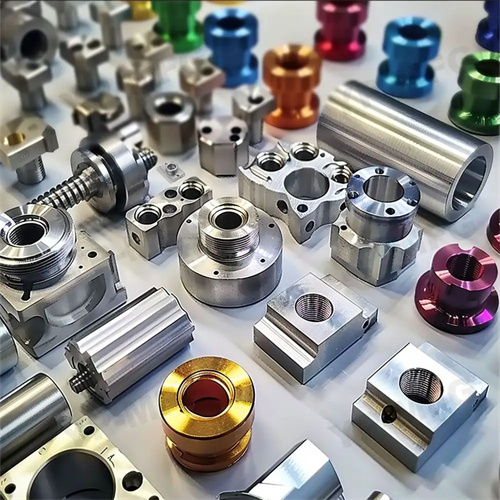
Comprehensive measurement method for threads
Comprehensive thread measurement is a critical step in ensuring threaded connection performance and transmission accuracy. Using specialized measuring tools, it simultaneously inspects multiple thread parameters (such as thread angle, pitch, pitch diameter, major diameter, and minor diameter) to determine whether they meet design standards. Compared to single-item measurements (such as measuring the pitch diameter with a micrometer or the pitch with a pitch gauge), comprehensive measurement is more realistic and can effectively assess thread interchangeability and assembly quality. For example, in automotive bolt production, comprehensive measurement can simultaneously verify thread sealing, strength matching, and smooth engagement, avoiding assembly failures caused by individual parameter compliance but insufficient overall performance. Common comprehensive measurement methods include gauge inspection, image measurement, and three-dimensional coordinate measurement. Each method is suitable for different precision requirements and production scenarios, and should be selected based on actual needs.
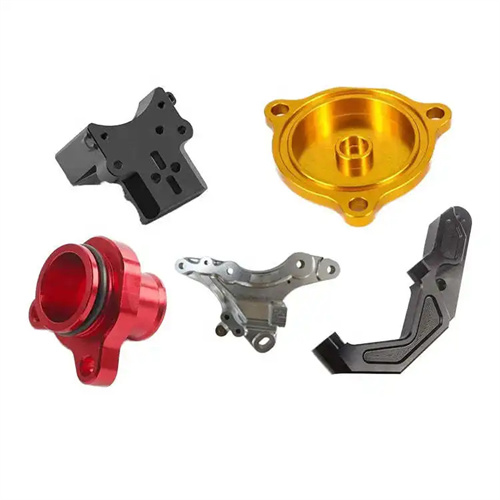
The gauge inspection method is the most traditional and widely used method for comprehensive thread measurement. It features ease of operation and high efficiency, making it suitable for rapid inspection in high-volume production. This method uses a go gauge (through end) and a no-go gauge (stop end). The go gauge simulates an ideal internal (or external) thread and must be able to smoothly engage and penetrate the thread being measured. The no-go gauge controls the maximum physical boundary of the thread and must not exceed a specified length (usually 2-3 threads). For example, when inspecting a standard M16×2 external thread, the go gauge must fully engage, while the no-go gauge must not exceed 2 threads, otherwise it will be considered unqualified. The gauge’s accuracy grade must match the thread being measured. For example, a 4H-grade external thread should use a 4H-grade gauge, and a 6G-grade external thread should use a 6H-grade gauge. To ensure measurement reliability, the gauges must be regularly calibrated (usually every three months) and inspected for wear. If the go gauge wear exceeds 0.01mm, it must be scrapped and replaced. After a bolt factory adopted the gauge inspection method, its inspection efficiency increased to 1 piece per second, and the false detection rate was controlled below 0.1%.
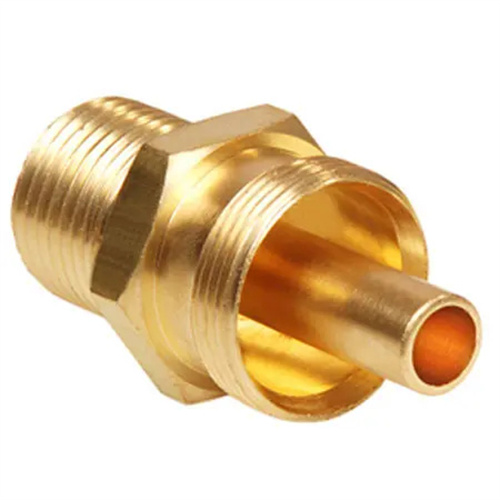
Vision measurement uses an optical system to magnify and image the thread profile, combining it with image processing technology to achieve comprehensive multi-parameter measurement. It is suitable for inspecting medium- and high-precision threads (such as lead screws and worms). During measurement, the thread to be measured is placed on the workbench of the vision measuring instrument. A CCD camera captures a cross-sectional image of the thread. The software automatically identifies characteristic points such as the crest, root, and flank, and calculates parameters such as the thread angle (tolerance ±5′), pitch (tolerance ±0.005mm), and pitch diameter (tolerance ±0.003mm). Compared to gauge inspection, vision measurement provides detailed numerical reports, facilitating analysis of deviations. However, its efficiency is lower (taking 3-5 minutes per piece), making it suitable for spot checks or laboratory testing. To improve measurement accuracy, careful lighting selection is important: contour lighting is used for external thread inspection to highlight the thread profile edges; coaxial lighting is used for internal thread inspection to avoid shadows from the inner wall. After a precision machinery factory introduced the image measurement method, the measurement accuracy of the thread diameter was improved from ±0.01mm to ±0.002mm, effectively controlling the transmission error of the screw.
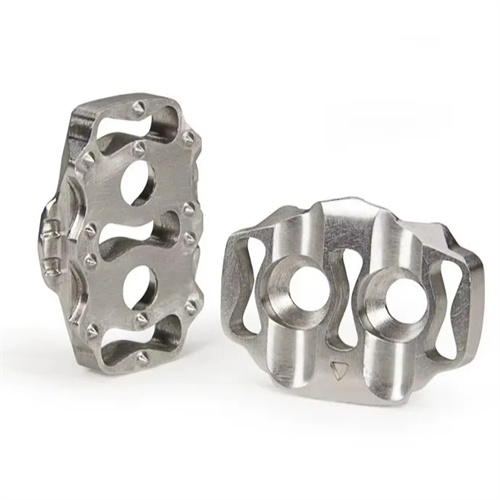
Coordinate measurement (CMM) is the ultimate solution for high-precision, comprehensive thread measurement. Using a contact probe, it collects surface data point by point, constructs a 3D model, and compares it to the theoretical model, achieving precise inspection of all parameters. This method has a wide measurement range and can inspect a variety of complex threads (such as trapezoidal, buttress, and pipe threads) with an accuracy of up to ±0.001mm. It is suitable for critical threaded components in aerospace, precision instrumentation, and other fields. During measurement, the probing path must be configured based on the thread type: external threads are typically sampled at equal angles along the axial direction (one cross-section every 120°), while internal threads require a safety distance from the bottom of the blind hole. The software automatically calculates metrics such as cumulative pitch error, thread angle deviation, and pitch diameter variation, and generates a visual error distribution map. The disadvantages of CMM are its high cost (equipment investment ranges from approximately 500,000 to 2 million yuan) and slow inspection time (taking 10-20 minutes per part). Therefore, it is primarily used for arbitration inspections or first-article inspections during critical processes. An aerospace company successfully solved the inspection challenge of special-shaped threads by adopting CMM, increasing its product qualification rate by 20%.
Auxiliary technologies and error control for comprehensive measurement are crucial to the reliability of the results. Ambient temperature is a key factor affecting measurement accuracy. Thread measurements must be performed in a constant temperature laboratory (20±1°C). When the temperature deviates from the standard value by 1°C, the mean diameter measurement error of the steel thread will increase by 0.0011mm (linear expansion coefficient 11.5×10^-6/°C). Therefore, the measured part must be kept at an isothermal temperature in the laboratory for more than 2 hours to ensure consistency with the ambient temperature. For large threaded parts (such as pipe threads with a diameter greater than 500mm), a laser scanning measurement method can be used. This method uses a non-contact laser head to quickly collect data, with a measurement range of up to 10m and an accuracy of ±0.01mm, avoiding the force deformation effects of contact measurement. In addition, the thread surface must be cleaned before measurement to remove impurities such as oil and iron filings. Otherwise, incorrect tooth profile recognition will occur, increasing the error by 0.01-0.03mm. A petroleum pipe fittings factory reduced the comprehensive measurement error of pipe threads from 0.05mm to 0.01mm by controlling ambient temperature and cleanliness, significantly reducing leakage accidents caused by poor sealing.
