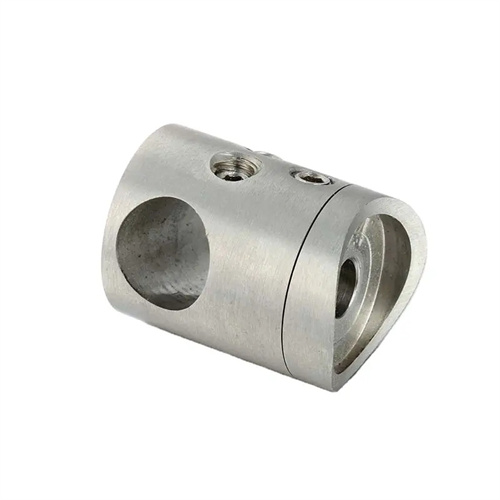
Output shaft processing technology
Output shafts are key components for transmitting power in mechanical transmission systems and are widely used in automobiles, machine tools, construction machinery, and other equipment. Their machining quality directly impacts the transmission accuracy and service life of the entire machine. Output shafts typically have a stepped shaft structure, incorporating features such as journals, keyways, and threads. Coaxiality (≤0.02mm), surface roughness (Ra ≤1.6μm), and dimensional accuracy (IT6-IT8) must be guaranteed for each journal. The machining process is tailored to the material (e.g., 45 steel, 40Cr, 20CrMnTi) and performance requirements (e.g., hardness HB220-250 after quenching and tempering). It typically includes blank preparation, rough machining, heat treatment, semi-finishing, and finishing. For example, machining an automotive transmission output shaft requires over 20 steps to withstand torques exceeding 2000 N · m . Therefore, a scientific and rational process is crucial for ensuring output shaft quality.
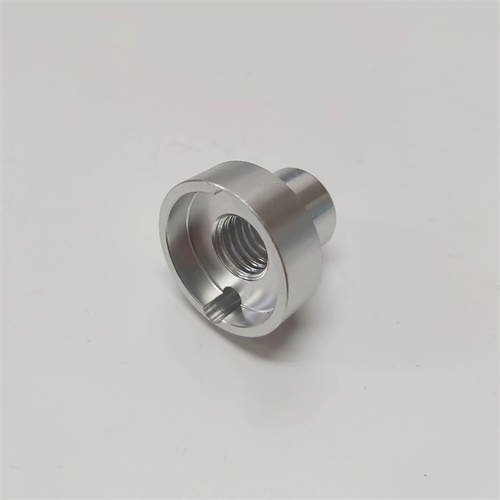
Blank preparation and rough machining are fundamental steps in output shaft processing. Output shaft blanks are mostly forged (e.g., die forging or open die forging), with a few smaller diameter shafts made from round steel bar stock. Forged blanks must have fine and uniform grains to avoid defects such as cracks and folds. After forging, they must be normalized (850-900°C for 1-2 hours, followed by air cooling) to eliminate forging stresses and improve cutting performance. Rough machining primarily removes most stock. External turning is performed on a lathe, and each journal is machined to 3-5 mm larger than the finished dimension. A center hole is drilled to serve as a reference for subsequent machining. For output shafts with keyways, the keyway is pre-milled at the shaft end during rough machining, 1-2 mm shallower than the finished product, to avoid machining difficulties after heat treatment. Carbide tools (such as YT15) are used for rough machining, with a cutting speed of 80-120 m/min and a feed rate of 0.3-0.5 mm/r to improve efficiency. An automobile parts factory reduced the machining allowance of output shaft blanks by 20% and shortened the rough machining time by 15% by optimizing the forging process.
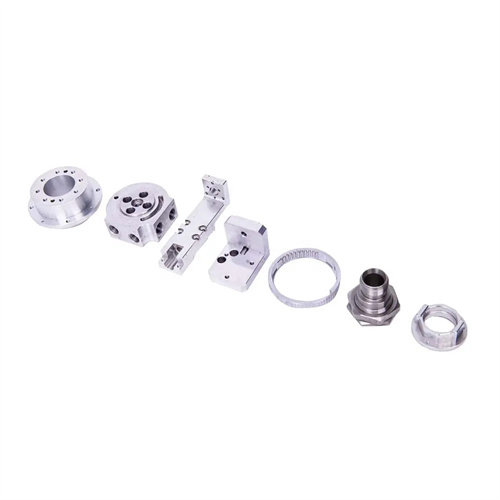
The heat treatment process plays a decisive role in the mechanical properties of the output shaft. Depending on the material, heat treatment methods include quenching and tempering, case hardening, and carburizing and quenching. 45 steel output shafts undergo quenching and tempering (quenching at 840-860°C, tempering at 580-600°C), achieving a hardness of HB220-250, ensuring sufficient strength and toughness. 40Cr steel output shafts achieve a hardness of HB240-280 after quenching and tempering, making them suitable for bearing heavy loads. 20CrMnTi steel requires case hardening and quenching (carburizing at 900-930°C, quenching at 850-870°C, and tempering at 180-200°C), achieving a surface hardness of HRC58-62 and a core hardness of HRC30-40, improving wear resistance and fatigue resistance. After heat treatment, flaw detection (such as magnetic particle inspection) is required to ensure the absence of cracks and other defects. Deformation is also controlled (bend ≤ 0.1 mm/m). If deviations occur, straightening is required (such as press straightening, deformation ≤ 0.2 mm). A machine tool manufacturer uses a double tempering process on 40Cr output shafts, reducing residual stress by 40% and keeping subsequent deformation within 0.05 mm.
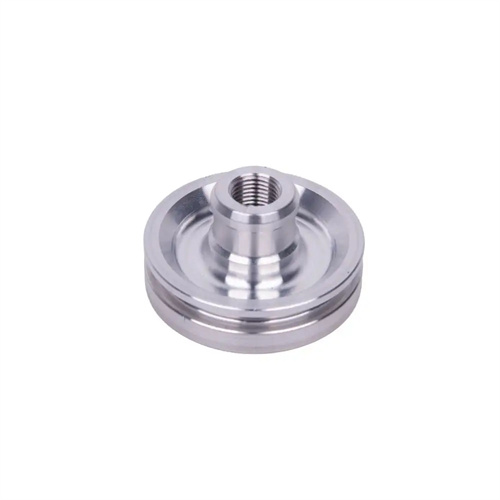
Semi-finishing and precision machining are key to ensuring output shaft accuracy. Semi-finishing is performed after heat treatment, primarily machining each journal to the final size with a 1-2mm allowance to correct heat-treatment distortion. This process is performed on a CNC lathe or conventional lathe, using carbide or high-speed steel tools at a cutting speed of 60-100 m/min and a feed rate of 0.2-0.3 mm/r. For threaded output shafts, semi-finishing involves turning the thread base diameter, leaving a 0.3-0.5mm finishing allowance. Precision machining includes finishing turning and grinding. Each journal is finish-turned to the final size, ensuring dimensional accuracy and surface finish. After finishing, the journal roundness is ≤0.005mm. Critical journals (such as bearing seats) are cylindrically ground using a centerless grinder or external cylindrical grinder with a grinding allowance of 0.3-0.5mm. White corundum (WA60-80) grinding wheels are used. The surface roughness after grinding is Ra ≤0.8μm, and the cylindricity ≤0.003mm. A certain engineering machinery factory has improved the coaxiality of the output shaft from 0.03mm to 0.01mm through the combined process of “precision turning + grinding”, meeting the high-precision transmission requirements.
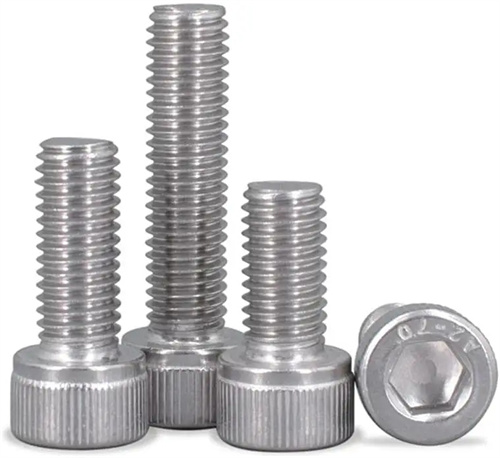
Key feature processing and quality inspection require strict control. Keyways, splines, and other features on output shafts are typically machined after semi-finishing. Keyways are milled using end mills with a depth tolerance of ≤±0.02mm and a symmetry of ≤0.03mm. Splines are machined using hobbing or slotting, with a minor diameter tolerance of IT7 and a tooth profile error of ≤0.015mm. Threading must ensure pitch diameter accuracy and surface quality, using a thread turning tool or tap. After processing, thread gauges are used to verify that the go gauge can be screwed in smoothly and the stop gauge has a screw-in depth of ≤2 threads. Quality inspection includes measuring journal dimensions with an outside micrometer (accuracy of ±0.001mm), checking roundness and coaxiality with a dial indicator, checking surface quality with a roughness tester, and checking heat treatment hardness with a hardness tester. Important output shafts are subject to torque testing (loading to 1.2 times the rated torque for 1 minute without plastic deformation) and fatigue testing ( 10^7 cycles without fracture). A wind power equipment factory has increased the pass rate of its output shafts from 92% to 99.5% through comprehensive quality testing, extending their service life to over 10 years.
