Crankshaft clamping method
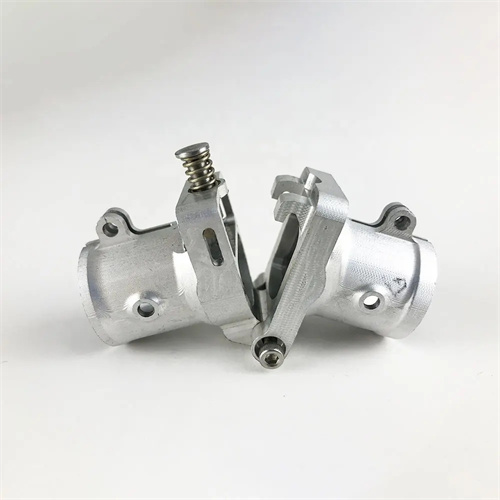
As a core component of internal combustion engines, compressors and other equipment, the crankshaft has a complex structure and consists of a main journal, connecting rod journal, crank arm, etc. The axes of each journal are parallel to each other but have eccentricity, making clamping much more difficult than ordinary shaft parts. The core goal of clamping is to ensure the coaxiality of the main journal and the connecting rod journal (usually required to be ≤0.02mm), the phase angle accuracy of each connecting rod journal (error ≤±15′), and the stability of the processing process, so as to avoid surface quality defects or tool damage caused by vibration. Commonly used clamping methods need to be selected according to the structural type of the crankshaft (such as integral type, combined type), size specifications (such as small and medium-sized crankshafts with a diameter of 50-200mm, large crankshafts with a diameter of >200mm) and production batch. They mainly include double-pin clamping method, eccentric chuck clamping method, special fixture clamping method, etc. Each method has its own applicable scenarios and technical points.
The double-thimble clamping method is a common method for small- to medium-volume production of small and medium-sized crankshafts, offering high positioning accuracy and ease of operation. This method requires drilling a center hole in the center of the main journal at each end of the crankshaft, with the center hole aligned with the main journal axis. The crankshaft is supported on a lathe or grinder using front and rear thimbles, and rotated by a dial. For connecting rod journal machining, the eccentricity is determined by calculation, and the lathe’s indexing mechanism is used to control the phase angle of each connecting rod journal. For example, the connecting rod journal phase angle of a four-cylinder engine crankshaft is 180°. After machining one connecting rod journal, the crankshaft is rotated 180° before machining the opposite journal. To improve clamping rigidity, a tool rest can be placed between the main journals. The support points should be made of wear-resistant carbide, and the contact pressure with the workpiece should be controlled between 0.05-0.1 MPa to avoid damage to the journal surface. The positioning accuracy of the double-thimble clamping method can reach 0.01-0.02mm, but the clamping time is longer (about 15-20 minutes/piece), which is suitable for single-piece and small-batch production, such as maintenance workshops or prototype trial production.
The eccentric chuck clamping method is suitable for machining medium-to-large crankshafts in mass production, significantly improving clamping efficiency. The eccentric chuck consists of an eccentric disc on the main shaft and an eccentric center on the tailstock. The locating holes in the eccentric disc align with the crankshaft main journal, and the eccentricity matches the eccentricity of the connecting rod journal. By replacing chucks with different eccentricities, it can accommodate a variety of crankshaft specifications. During clamping, simply insert the crankshaft main journal into the locating holes in the eccentric disc and tighten the tailstock eccentric center for rapid positioning, reducing clamping time to 3-5 minutes per part. To ensure phase angle accuracy, the eccentric chuck is equipped with an indexing device (such as a ratchet mechanism or servo motor drive), achieving an indexing accuracy of ±5°, meeting the phase requirements of most crankshafts. For multi-turn crankshafts (such as six-cylinder crankshafts), the eccentric chuck’s rotation angle can be controlled by the CNC system to automatically index each connecting rod journal. After a certain automobile engine factory adopted CNC eccentric chucks, the clamping efficiency of crankshafts increased by 4 times, and the phase angle error was controlled within ±10′, meeting the needs of mass production.
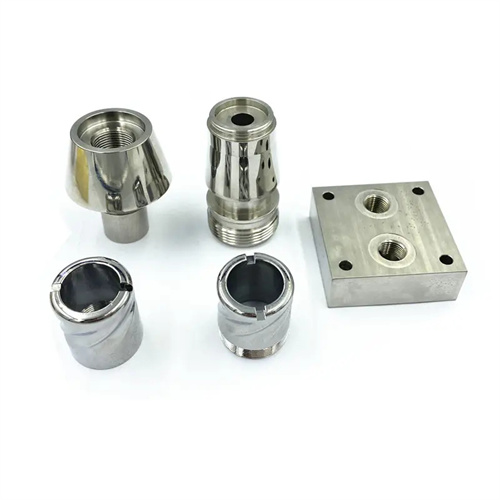
Specialized fixture clamping is the preferred solution for machining high-precision crankshafts (such as aircraft engine crankshafts), enabling comprehensive positioning and rigid clamping. Designed based on the specific crankshaft structure, specialized fixtures typically include positioning elements (which contact the main journals and crank arm sides), clamping elements (hydraulic or pneumatic jaws), and guide elements (to ensure tool path accuracy). During positioning, the crankshaft’s two main journals and one crank arm side serve as references for complete positioning, with a positioning error of ≤0.005mm. The clamping force is controlled by a hydraulic system, with different clamping forces set for different locations (5-8kN at the main journals and 3-5kN at the crank arm) to prevent workpiece deformation. Specialized fixtures can also incorporate integrated balancing blocks to offset centrifugal forces during crankshaft rotation and reduce vibration (amplitude can be controlled within 0.01mm). For example, when machining an aircraft engine crankshaft, a specialized fixture employs three-point positioning and hydraulic multi-point clamping, ensuring the concentricity of each connecting rod journal is controlled to 0.008 mm and a surface roughness of Ra ≤ 0.4 μm, meeting high-precision requirements. However, the disadvantage of specialized fixtures is their high manufacturing cost (approximately 100,000 to 500,000 yuan per set), making them suitable only for large-scale, pre-fabricated products.
Combined clamping methods and clamping error control techniques achieve a balanced balance of precision and efficiency. For crankshafts with complex structures (such as those with flanges), a “double ejector + dedicated fixture” combination can be employed: the main journal portion is supported by double ejectors to ensure coaxiality, while the flange end is clamped and torque transmitted using a dedicated fixture, which improves rigidity while ensuring positioning accuracy. The following error sources must be controlled during the clamping process: the roundness error of the center hole (≤0.005mm), which requires correction by grinding the center hole; the clearance between the center hole and the center point (≤0.01mm), requiring the use of high-precision Morse taper points; and the flatness error of the fixture positioning surface (≤0.005mm/m), which requires regular calibration with a straightedge. Before machining, the crankshaft’s radial runout and axial play must be checked with a dial indicator. Radial runout should be ≤0.01mm and axial play ≤0.02mm; otherwise, readjustment of the clamping is required. A ship engine factory has improved the machining accuracy of large crankshafts (3m in length) by 30% and reduced the scrap rate from 5% to below 0.5% through combined clamping and error control.
