Tolerances of cylindrical gear tooth blanks
Cylindrical gear blanks are the foundational raw materials for gear machining. Their tolerances (including dimensional tolerances, geometric tolerances, and surface roughness) directly impact the final machining accuracy and transmission performance of the gears. Control of gear blank tolerances must adhere to the “standardization” principle, using the blank’s inner bore (or shaft diameter) and end face as positioning references to ensure consistent benchmarks for gear machining, inspection, and assembly. Typically, gear blank tolerances account for 30%-50% of the gear’s total tolerance. For example, when machining a grade 6 precision gear, the inner bore dimensional tolerance must meet IT6, with end face runout ≤0.015mm. Failure to do so will result in excessive cumulative pitch error, impacting transmission smoothness. Therefore, understanding the items, numerical specifications, and control methods for cylindrical gear blank tolerances is crucial to ensuring gear quality.
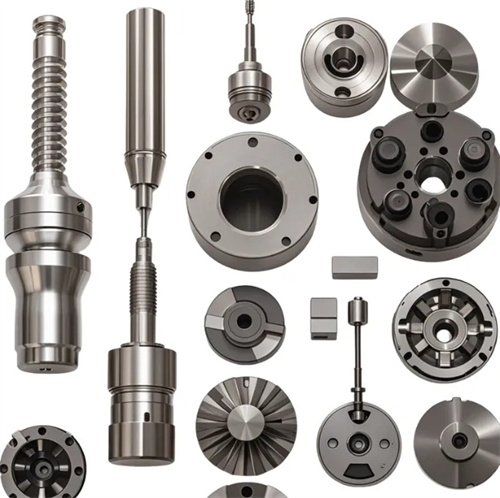
The tolerance of the gear blank’s inner bore (or shaft diameter) is crucial for ensuring positioning accuracy. For gears positioned by the inner bore, the bore diameter tolerance is typically IT6-IT7 (e.g., for gears with a module of 3-6mm, the bore tolerance is H6 or H7), with a surface roughness of Ra ≤ 1.6μm and a clearance with the spindle of ≤ 0.01mm to ensure positioning accuracy during machining. When the inner bore is a splined hole, the spline tolerance must be one grade higher than the gear precision (e.g., a 6-grade spline for a 7-grade gear), with key side clearance ≤ 0.02mm to prevent radial play. For gear shafts positioned by the shaft diameter, the shaft diameter tolerance is IT5-IT6 (e.g., a 5mm gear shaft with a shaft diameter tolerance of js5), with a surface roughness of Ra ≤ 0.8μm. The fit with the bearing must meet rotational accuracy requirements. The cylindricity error of the inner bore (or shaft diameter) must be ≤ 1/2 of the diameter tolerance. For example, the cylindricity of a φ50H7 inner bore must be ≤ 0.01mm to prevent gear tilt during installation. By controlling the inner bore tolerance to IT6, a gear manufacturer has reduced the radial runout error of gears from 0.03mm to 0.01mm, reducing transmission noise by 3dB.
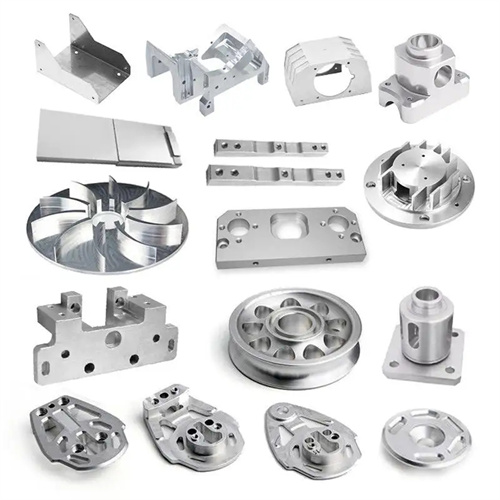
The tolerance of the tooth blank end face significantly affects the accuracy of the gear tooth profile. As the axial positioning reference, the gear end face must have a flatness error of ≤0.01-0.03mm (determined by the gear diameter and accuracy grade; the larger the diameter, the greater the tolerance). The perpendicularity error with the inner hole (or shaft diameter) must be ≤0.01-0.02mm/100mm. Failure to do so will result in tooth profile skew during gear machining (the tooth profile error may exceed the tolerance by more than 50%). The surface roughness of the end face must be Ra ≤3.2μm to reduce friction and wear with the positioning surface. For high-speed gears (speeds > 3000r/min), the end face roughness must be increased to Ra 1.6μm to prevent heat and deformation. When a gear has two end faces, one must be designated as the reference end face (usually the end face closest to the spur gear). The runout tolerance of the other end face can be appropriately relaxed (1.5-2 times that of the reference end face). A motor factory controls the verticality of the reference end face to ≤0.01mm/100mm, so that the gear tooth error is controlled within 0.015mm, meeting the transmission requirements of high-speed motors.
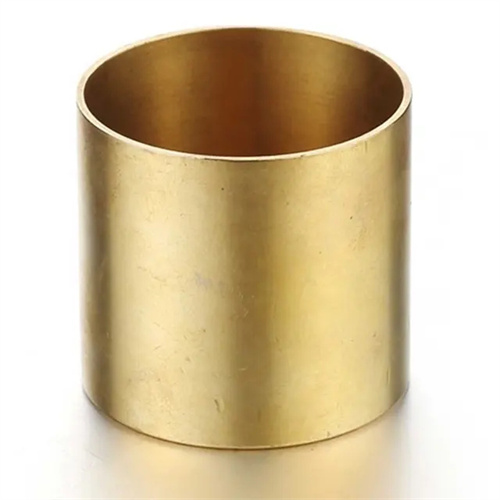
The tolerance of the gear blank’s outer diameter (or top diameter) must be determined based on the intended use. When the outer diameter serves as a machining reference (e.g., for alignment during gear hobbing), the outer diameter tolerance is IT8-IT9, with coaxiality with the inner bore ≤0.02-0.05mm and roundness error ≤0.01-0.03mm to ensure positioning accuracy during alignment. When the outer diameter is not used as a reference (for non-machined or final surfaces only), the tolerance can be relaxed to IT10, with a surface roughness Ra ≤6.3μm. However, coaxiality with the inner bore must be maintained at ≤0.1mm to avoid interference with other parts during assembly. For the journal portion of the gear shaft (where the bearing is mounted), the tolerance is IT5, with a surface roughness Ra ≤0.8μm and a roundness ≤0.005mm to meet the bearing’s rotational accuracy requirements. A gearbox manufacturer uses the outer circle of the gear as the hobbing reference, controlling the coaxiality between the outer circle and the inner hole to ≤0.02mm, reducing the cumulative error of the tooth pitch from 0.05mm to 0.03mm, and significantly improving transmission smoothness.
The selection of gear blank tolerances and the matching of gear accuracy grades must comply with standard specifications. According to GB/T 10095.1-2008, “Cylindrical Gears – Part 1: Definitions and Permissible Values of Tooth Flank Deviations on the Same Side of the Tooth,” gear accuracy grades are categorized from 0 to 12 (with Grade 0 being the highest). Gear blank tolerances must be tightened as the accuracy grade increases: For Grade 0-1 gears, the bore tolerance is IT5, and the face runout is ≤0.005mm; for Grade 2-3 gears, the bore tolerance is IT5-IT6, and the face runout is ≤0.01mm; for Grade 4-5 gears, the bore tolerance is IT6, and the face runout is ≤0.015mm; for Grade 6-7 gears, the bore tolerance is IT7, and the face runout is ≤0.02mm; and for Grade 8-12 gears, the bore tolerance is IT8-IT9, and the face runout is ≤0.03-0.1mm. In practice, gear blank tolerances also need to consider the gear module (the larger the module, the greater the tolerance) and diameter (the larger the diameter, the greater the tolerance). For example, a 7th-grade gear with an 8mm module and a 300mm diameter has an internal bore tolerance of H7 (+0.03mm) and a face runout of ≤0.03mm. A heavy machinery plant matched gear blank tolerances to standards, increasing its gear processing pass rate from 80% to 95% and significantly reducing rework.
