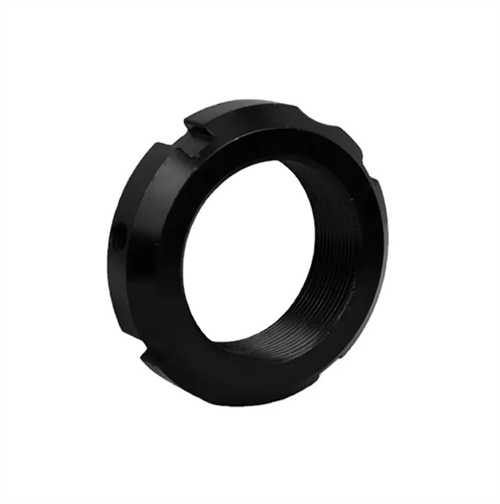
Cylinder turning
Cylinders are the core actuators in hydraulic systems, generating force or displacement output through the reciprocating motion of the piston. Turning operations require ensuring the dimensional accuracy of the inner bore (tolerance H7-H9), cylindricity (≤0.01mm/m), surface roughness (Ra ≤0.8μm), and perpendicularity to the flange end face (≤0.02mm/100mm). These parameters directly impact the cylinder’s sealing performance and smooth movement. Cylinders are typically constructed from structural alloy steels such as 45 steel and 27SiMn. Some high-pressure cylinders utilize seamless steel pipe (requiring quenching and tempering to 220-250HB). Turning presents challenges due to the large aspect ratio (typically 3-10) and the high precision required for the inner bore. This is particularly true for cylinders exceeding 1m in length, where insufficient rigidity can lead to machining vibration. For example, when machining a φ100mm × 1500mm high-pressure cylinder, if the inner bore cylindricity error exceeds 0.02mm, piston resistance fluctuations can occur, impacting the accuracy of the hydraulic system. Therefore, the turning of the cylinder requires a special plan from aspects such as clamping method, tool selection, and process route.
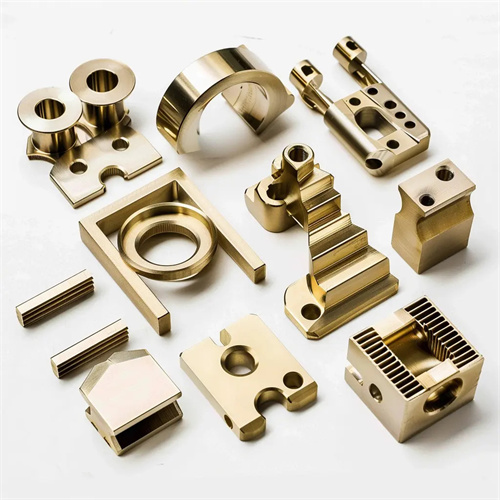
The turning of the cylinder’s outer diameter and end faces requires guaranteed reference accuracy. Cylinder blanks are often forgings or thick-walled seamless steel pipes. Rough turning of the outer diameter is performed using a three-jaw chuck to clamp one end and a tailstock center to support the other. Descale and excess material are removed (leaving 3-5mm on each side). The outer diameter is controlled to be 1-2mm larger than the drawing. Finish turning of the outer diameter uses the center holes at both ends as a reference (double-thimble clamping). Coaxiality between the outer diameter and the inner bore is guaranteed to be ≤0.03mm. Cutting speeds are 100-150m/min, feed rates are 0.1-0.2mm/r, and surface roughness Ra ≤1.6μm. The flange end face must be perpendicular to the cylinder axis. Turning is performed using a 45° turning tool, feeding from the outer diameter toward the center, at a constant linear speed (150-200m/min). End face flatness is guaranteed to be ≤0.01mm, and perpendicularity to the outer diameter is ≤0.02mm/100mm. For cylinders with lugs, the lug holes must be machined after turning the end faces. The perpendicularity between the hole axis and the cylinder axis must be ≤0.03mm/m to ensure uniform force during installation. A hydraulic equipment manufacturer, through benchmark optimization, reduced the perpendicularity error of cylinder flanges from 0.05mm/100mm to 0.01mm/100mm, and increased the sealing surface fit rate to over 90%.
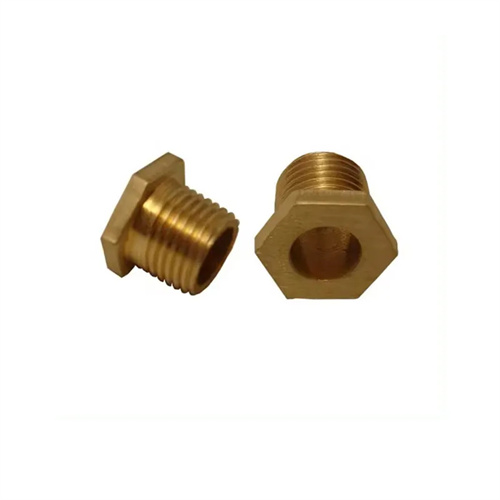
Turning the cylinder bore is a critical process for ensuring performance. Rough turning of the bore requires a boring tool or internal turning tool with a 2-3mm engagement, a feed rate of 0.2-0.3mm/r, and a cutting speed of 80-100m/min. A 1-2mm allowance is reserved for finishing. Finish turning requires a high-precision boring tool (such as a fine-tuning boring tool with an accuracy of ±0.001mm). The tool should be made of carbide (YT15 or YW2) with a ground edge (Ra ≤ 0.02μm). Cutting speeds are 120-180m/min, a feed rate of 0.05-0.1mm/r, and an engagement of 0.1-0.3mm. The bore should maintain a dimensional tolerance of H7 (e.g., a φ100H7 size ranges from 100 to 100.035mm). Cylinders with an aspect ratio greater than 5 require a steady rest or boring bar support to minimize bar deflection (≤0.01mm) and prevent taper or bulging of the bore. After finish turning, the bore dimensions should be checked with an internal diameter dial indicator, measuring sections every 500mm to ensure a cylindricity of ≤0.01mm along the entire length. A heavy machinery plant used a double-supported boring bar to machine a φ160mm × 2000mm cylinder bore, achieving a cylindricity error of 0.008mm/m, meeting high-pressure operating requirements.
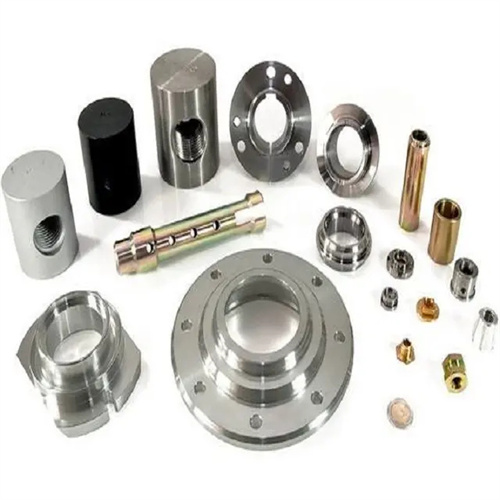
Deep hole machining and surface treatment for hydraulic cylinders require specialized processes. When the bore depth exceeds five times the cylinder diameter (e.g., φ80mm x 600mm), a deep-hole drilling and boring process is required: first, a deep-hole drill (such as a gun drill) is used to create the bottom hole. Then, a boring tool is used to bore the bottom hole in stages, each 300-500mm long. Internal coolant and external chip removal (cutting fluid pressure 3-5MPa) are used to ensure timely chip removal. Straightness error during deep-hole machining must be ≤0.1mm/m, otherwise piston binding can occur. A laser alignment tool can be used to adjust the boring bar axis to maintain coaxiality with the workpiece axis of ≤0.05mm. The bore after finish turning requires surface treatment: rolling is used for medium- and low-pressure cylinders (surface roughness is reduced to Ra 0.4μm, increasing hardness by 10-20%). High-pressure cylinders are chrome-plated (coating thickness 0.05-0.1mm, hardness ≥800HV) and then ground to ensure wear and corrosion resistance. After a certain engineering machinery factory chrome-plated and ground the inner hole of a high-pressure oil cylinder, its service life was extended from 5,000 hours to 10,000 hours and the leakage rate was reduced by 90%.
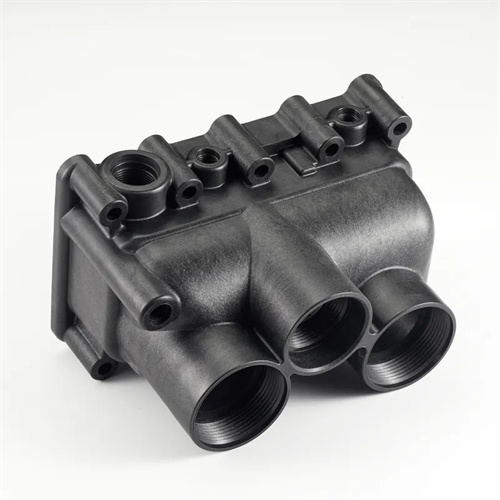
Quality inspection and process optimization for cylinder turning require full control. Inspections include measuring bore dimensions with an internal micrometer (accuracy ±0.001mm), roundness with a roundness tester (≤0.005mm), straightness with a laser interferometer (≤0.05mm/m), and surface quality with a roughness tester. Common defects and solutions: Internal bore taper is often caused by tool wear or uneven feed; regular tool sharpening and a consistent feed rate are required. Surface scratches are often caused by delayed chip removal; enhanced cooling and chip removal are required. Dimensional deviations may be due to thermal deformation; controlled cutting fluid temperature (20±2°C) is required. Process optimization includes adopting a “rough turning – tempering – semi-finishing turning – finishing turning” process to eliminate machining stress; using a reverse turning method for slender cylinders to leverage cutting forces to offset bending; and using specialized fixtures for mass production to reduce setup time (increasing efficiency by 40%). Through comprehensive quality control, a hydraulic component factory increased the first-time pass rate of cylinders from 85% to 99% and reduced the customer complaint rate to below 0.5%.
