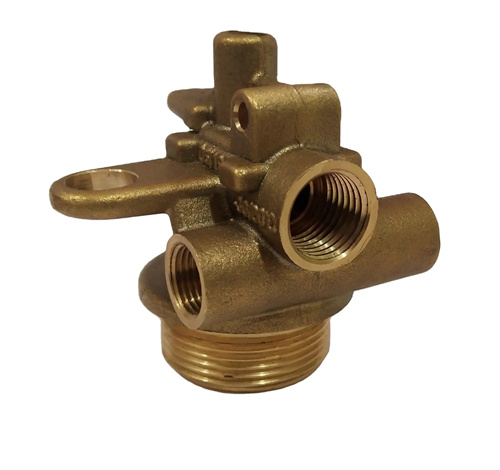
Turning the forming surface by copying method
The routing method is a key tool for efficiently machining complex curved surfaces (such as handles, cams, and mold cavities). Its core principle is to control the tool’s feed trajectory using a template (a template that matches the contour of the workpiece’s forming surface), allowing the tool to follow the guide curve, thereby turning a surface that matches the guide’s shape. Compared to manual tooling or CNC programming, the routing method offers ease of operation, high efficiency, and excellent consistency. It is particularly suitable for machining surfaces with medium precision requirements (tolerances of ±0.1mm) in mass production. For example, when machining the arc transition surface of a motorcycle handle, the routing method achieves productivity 5-8 times higher than manual machining, while maintaining a stable surface roughness within Ra1.6μm. However, the manufacturing accuracy of the routing directly affects the quality of the workpiece, necessitating mastery of key aspects of routing design, installation, commissioning, and turning technology.
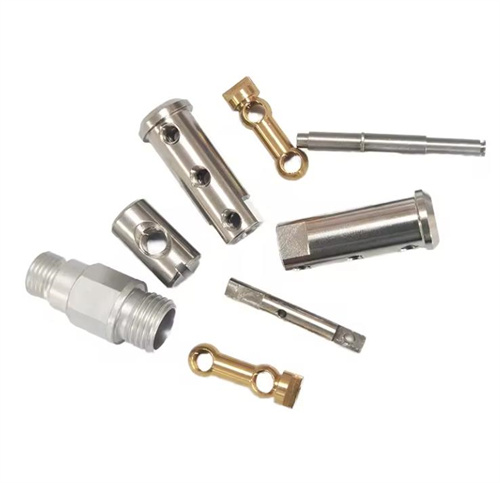
The design and manufacture of the master form are fundamental to ensuring the accuracy of the forming surface. The master form’s contour curve must perfectly align with the workpiece’s forming surface, and tool radius compensation (e.g., a φ10mm arc cutter requires an inward offset of 5mm) must be considered to avoid undersize of the finished forming surface. The master form material is selected based on the production batch: cardboard or wood for small batches (lower cost but lower precision), aluminum alloy or cast iron for medium batches (medium precision, reusable 500-1000 times), and hardened steel (55-60HRC, high precision, with a service life of over 10,000 cycles) for large batches. The master form’s manufacturing accuracy must be one to two grades higher than the workpiece’s accuracy. For example, for a forming surface with a machining tolerance of ±0.1mm, the master form’s contour error must be ≤±0.05mm, and the surface roughness Ra must be ≤0.8μm to minimize friction and wear with the rollers. A tool factory uses wire cutting to process 45 steel molds (quenched to 58HRC), and the contour error is controlled at ±0.03mm, so that the consistency error of the forming surface of mass-produced handles is ≤0.05mm.
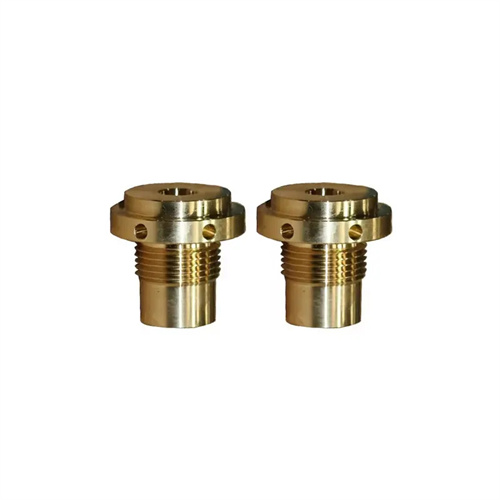
The installation and commissioning of the guide mechanism significantly impacts machining quality. A typical configuration for forming surfaces using the guide mechanism includes a guide plate (fixed to the machine bed or slide), rollers (which contact the guide and transmit trajectory signals), and a connecting rod (connecting the roller to the toolholder). During installation, ensure that the guide axis is parallel to the workpiece axis (parallelism error ≤ 0.05mm/m) and that the roller center and tool center are at the same height (height difference ≤ 0.1mm). Failure to do so will result in distortion or dimensional deviation of the formed surface. During commissioning, a trial cut is performed using scrap material to measure key dimensions of the formed surface (such as arc radius and step height). After comparing the cut to the drawing, the guide position is adjusted (by fine-tuning ±0.05mm horizontally or vertically) until the test cut is satisfactory. For symmetrical forming surfaces (such as dumbbell-shaped workpieces), positioning datums are required on both sides of the guide to ensure a symmetry error of ≤ 0.1mm. A fitness equipment manufacturer reduced the symmetry error of dumbbell handles from 0.2mm to 0.05mm by precisely installing the guide mechanism, meeting assembly requirements.
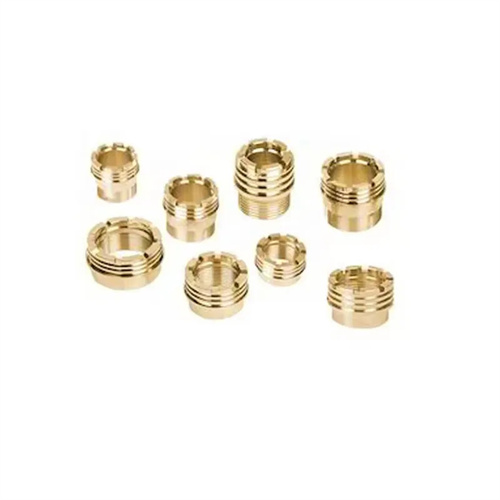
Tool selection and geometric parameter design must be tailored to the machining characteristics of the forming surface. Arc cutters or forming cutters are commonly used for profiling forming surfaces. Arc cutters (radius R2-R10mm) are suitable for machining forming surfaces with smooth transitions. The cutting edge radius must match the minimum curvature radius of the forming surface (tool radius ≤ 0.8 times the minimum curvature radius) to avoid interference. Forming cutters (cutting edge shape consistent with the workpiece) are suitable for machining stepped or angular forming surfaces. The cutting edge width should be ≤ the minimum step width of the workpiece to prevent overcutting. Tool materials should be high-speed steel (W18Cr4V) or carbide (YT15). High-speed steel cutters are suitable for low-speed fine turning (good surface finish), while carbide cutters are suitable for high-speed rough turning (high efficiency). Geometric parameters include a rake angle of 10°-15°, a clearance angle of 8°-12°, and an inclination angle of 0°-5° to ensure smooth cutting. A tip radius of 0.2-0.5mm reduces surface scratches. A toy factory used an R5mm carbide circular cutter to process the forming surface of a plastic toy shell, reducing the surface roughness from Ra3.2μm to Ra0.8μm and increasing processing efficiency by 30%.
Optimization of cutting parameters and operating techniques must balance efficiency and quality. When rough turning a formed surface, the cutting speed is 60-100m/min (steel) or 40-60m/min (cast iron), with a feed rate of 0.15-0.3mm/r, to quickly remove the excess while ensuring that the tool does not violently collide with the datum. For fine turning, the speed is increased to 100-150m/min, and the feed rate is reduced to 0.05-0.1mm/r. The guiding accuracy of the datum is used to ensure surface quality. The cutting fluid used should be emulsion (steel) or kerosene (cast iron), which fully lubricates the contact area between the datum and the roller to reduce wear. During operation, the tool holder feed must be kept stable to avoid pauses (otherwise, tool marks will be generated). For deep cavity forming surfaces, multiple passes are required (each radial feed is 0.5-1mm) to gradually approach the final shape. During machining, the mold surface must be cleaned of chips and oil frequently. Roller wear should be checked every 50 parts (radial wear ≤ 0.05mm), and replaced if necessary. By optimizing parameters, one agricultural machinery factory increased the machining pass rate for forming surfaces from 82% to 98%, significantly reducing scrap rates.
Common problems and solutions for forming surfaces using the profiling method require a thorough understanding. Dimensional deviations from the forming surface are often due to manufacturing errors or installation offsets in the profiling tool, requiring retesting of the profiling accuracy and adjustment of the position. Surface ripples are often caused by poor contact between the roller and the profiling tool (e.g., excessive clearance), requiring adjustment of the roller pressure ( 0.1-0.2 MPa). Localized overcutting or undercutting may indicate tool radius compensation errors, requiring recalculation of the compensation amount. For complex forming surfaces (e.g., those containing multiple arcs and straight lines), a combined profiling tool (segmented splicing) can be used, but a smooth transition at the joints (steps ≤ 0.03 mm) must be ensured. Profiling tool accuracy must be regularly verified during mass production (every 1,000 parts), and any excessive wear must be repaired or replaced promptly. An automotive parts manufacturer, by establishing a profiling maintenance system, has improved the long-term machining accuracy and stability of forming surfaces by 60%, meeting the quality requirements of mass production.
