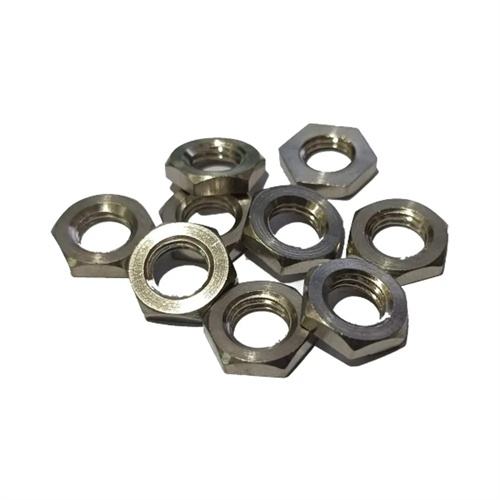
Turning method of slender shaft
Slender shafts are typically difficult to machine in machining. These typically refer to shaft workpieces with an aspect ratio greater than 20, such as machine tool lead screws, hydraulic piston rods, and guide rods for textile machinery. The difficulty in turning these shafts lies in their extremely poor rigidity. Under the influence of cutting forces, gravity, and cutting heat, they are prone to bending deformation (deflection can reach over 0.5mm) and vibration. This results in “drum,” “taper,” or “waist-drum”-shaped errors in the machined shafts, diameter accuracy deviations (possibly exceeding 0.1mm), and increased surface roughness (Ra values exceeding 3.2μm). For example, when machining a slender 45 steel shaft with a diameter of 12mm and a length of 300mm using conventional turning methods, the straightness error can exceed 0.2mm/m, failing to meet assembly requirements. Therefore, turning slender shafts requires comprehensive measures, including clamping method, tool design, cutting parameters, and cooling system, to minimize deformation and vibration.
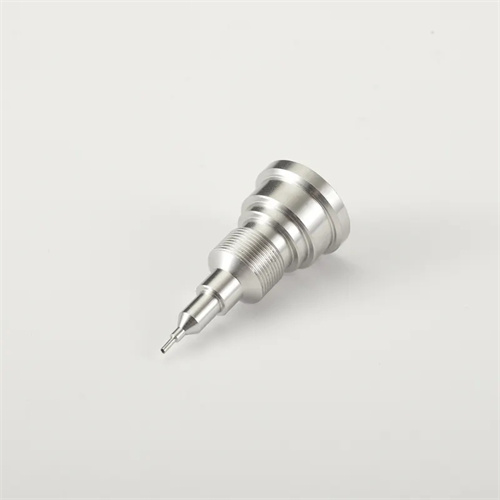
Innovation in clamping methods is key to controlling deformation in slender shafts. Traditional double-ejector clamping is suitable for slender shafts with an aspect ratio of 20-30, but requires precision grinding of the center holes at both ends (roundness ≤ 0.005mm) and the use of a flexible live center (such as a disc spring center). The clamping force is controlled at 1-2kN to prevent workpiece bending due to excessive axial forces. For ultra-slender shafts with an aspect ratio exceeding 30, a combined clamping solution of “one clamp, one ejector + multiple steady rests” is required: a three-jaw chuck at the spindle end clamps one end of the workpiece (the clamping length should not exceed 1.5 times the shaft diameter, e.g., 15mm for a 10mm diameter shaft). The tailstock is supported by a flexible center, and steady rests are located every 500mm. The steady rest support blocks should be made of wear-resistant cast iron or babbitt alloy, and the contact pressure with the workpiece should be precisely adjusted to 0.01-0.02MPa using a dial indicator to ensure that radial cutting forces are offset without damaging the workpiece surface. When a hydraulic parts factory processed a piston rod with an aspect ratio of 50, it used three sets of tool rests to support it, reducing the curvature from 0.3mm to 0.05mm and meeting the straightness requirement of 0.1mm/m.
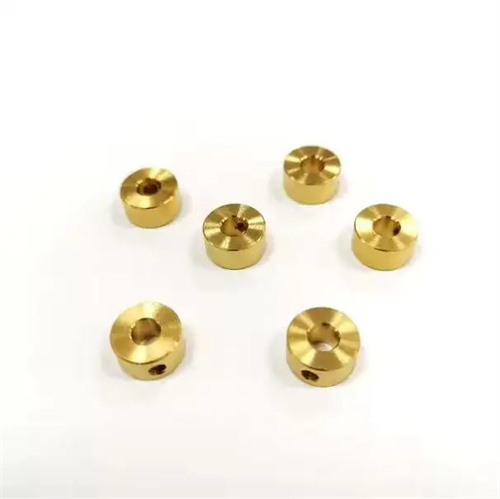
Special tool design significantly reduces cutting forces and vibration. Turning tools for slender shafts require a large entering angle (85°-93°) to minimize radial cutting forces (radial forces are only 1/5-1/8 of axial forces) and reduce workpiece bending. A rake angle of 15°-20°, a relief angle of 10°-12°, and a cutting edge inclination angle of -3°-0° create a sharp cutting edge and reduce cutting resistance. The tool tip radius should be controlled within 0.2-0.5mm to avoid excessive radial forces and prevent surface tearing. Ultrafine-grained carbide (such as WC-Co alloy with a grain size of 0.5-1μm) should be used for tool material. High-speed steel (W18Cr4V) can be used for finish turning, and the cutting edge should be ground (cutting edge straightness ≤ 0.01mm/100mm). When installed, the tool should be 0.1-0.2mm above the workpiece center (approximately 1%-2% of the shaft diameter) to offset the workpiece’s weight by generating an upward component of the cutting force. A precision instrument factory reduced the cutting force of slender shafts by 40% and controlled the vibration amplitude within 0.01mm by optimizing tool parameters.
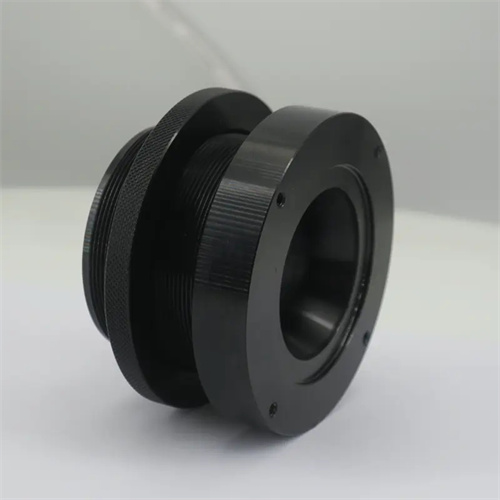
Optimization of cutting parameters and cooling methods must be coordinated. For rough turning, a low speed and low feed rate combination is employed: cutting speed 60-80 m/min, feed 0.1-0.2 mm/r, and back-cut depth 0.5-1 mm to avoid excessive cutting forces and heat. For finish turning, increase the speed to 100-150 m/min (leveraging the “ironing” effect of high-speed cutting to improve surface quality), reduce the feed rate to 0.05-0.1 mm/r, and back-cut depth 0.1-0.3 mm. This reduces vibration by shortening the tool-workpiece contact time. The cooling system must utilize a high-pressure, high-flow design (pressure ≥ 0.6 MPa, flow ≥ 40 L/min), using dual nozzles for precise cooling: one nozzle is aimed at the cutting zone to remove cutting heat; the other nozzle sprays along the workpiece axis to control overall temperature rise (≤ 5°C) and minimize thermal deformation. Slender shafts with extremely high precision requirements, such as machine tool lead screws, must be processed in a constant-temperature workshop (20 ± 0.5°C) and undergo stress relief annealing (600-650°C for two hours) before finish turning. Through parameter optimization, a machine tool manufacturer has achieved a diameter accuracy of ±0.005mm and a surface roughness Ra ≤ 0.8μm for slender shafts measuring φ10mm × 500mm.
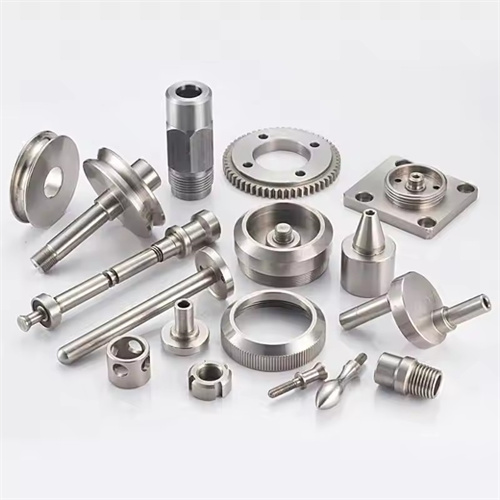
Machining technology and error correction techniques are the last line of defense for ensuring precision. A “stepwise progressive” turning process is employed: machining begins at each end of the workpiece and progresses toward the center, with each section measuring 150-200mm. Straightness is checked after each completed section, and any deviations are immediately straightened (pressure straightening, with deformation ≤ 0.05mm). A 0.5-0.8mm allowance is maintained for finish turning after rough turning, and a 0.1-0.2mm allowance is maintained after semi-finish turning. Errors are gradually corrected through multiple passes. For slender shafts with steps, the larger diameter section is machined first (to enhance rigidity), followed by the smaller diameter section to avoid sudden changes in rigidity. A “continuous axial feed” method is employed during finish turning to avoid pauses and tool marks. When necessary, reverse pull turning (feeding the tool from the tailstock to the headstock) is employed to utilize cutting force to offset workpiece deflection. Workpiece deflection is monitored in real time using a dial indicator, measured every 50mm, and the toolholder pressure is adjusted immediately if excessive deflection is detected. An aerospace company uses this process to control the straightness of a titanium alloy slender shaft with an aspect ratio of 40 to within 0.05mm/m, meeting the requirements of the spacecraft attitude control mechanism.
