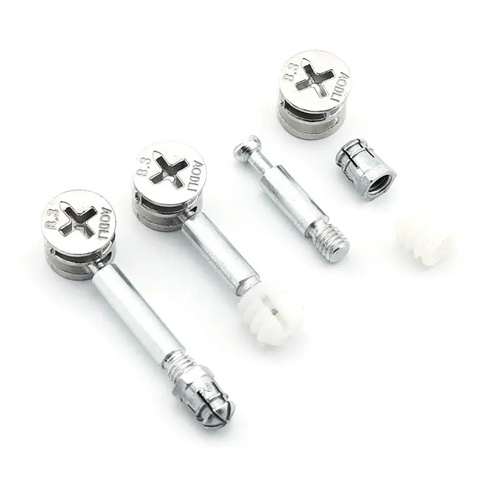
Turning of slender rods
Slender rods refer to shaft-like components (such as lead screws, piston rods, and guide rods) with an aspect ratio greater than 20. They are generally considered difficult to machine during turning due to their poor rigidity, high vibration, and significant thermal deformation. The turning of slender rods requires guaranteed straightness (≤0.1mm/m), cylindricity (≤0.01mm), and surface roughness (Ra ≤1.6μm). However, radial cutting forces during machining can easily cause bending deformation (deflection can exceed 0.5mm). Cutting heat also causes axial elongation (0.11mm for every 10°C temperature rise), impacting dimensional accuracy. For example, improper machining of a 10mm diameter, 300mm long 45 steel slender rod can result in “drumming” or “tapering” errors, with diameter deviations exceeding 0.1mm. Therefore, turning slender rods requires special measures in terms of clamping method, tool design, and cutting parameters to control deformation and vibration.
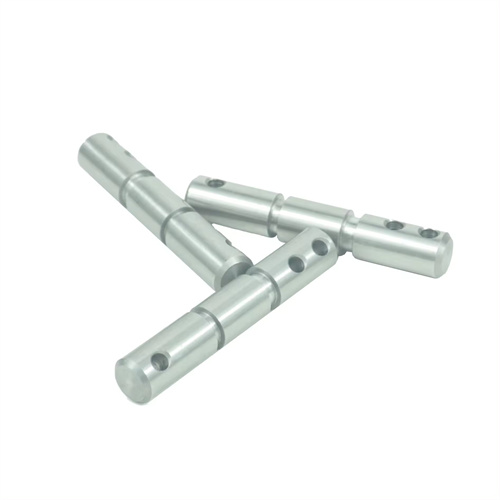
Optimizing the clamping method is key to controlling deformation of slender rods. Traditional double-thrust clamping is suitable for slender rods with an aspect ratio of 20-30, but requires a center hole (Type A or Type B) at both ends. The tailstock center uses a flexible live center, and the clamping force is controlled at 1-2kN to prevent workpiece bending due to excessive axial forces. For ultra-slender rods with an aspect ratio greater than 30, a “one clamp, one thrust + steady rest” combination clamping is required: a three-jaw chuck at the spindle end clamps one end of the workpiece (clamping length 15-20mm), the tailstock is supported by a flexible center, and two or three steady rests are positioned in between. The contact pressure between the steady rest support block and the workpiece outer diameter is adjusted to 0.01-0.02MPa using a dial indicator. The steady rest moves synchronously with the tool to offset radial cutting forces. The steady rest support block is made of wear-resistant cast iron or bronze with a surface roughness of Ra ≤ 0.8μm to avoid scratching the workpiece surface. When a precision instrument factory processed a slender rod with an aspect ratio of 50, it used a three-support tool holder to reduce the curvature from 0.3mm to 0.05mm, meeting the straightness requirements.
Specially designed tool geometry can reduce cutting forces and vibration. Turning tools for slender shanks require large rake angles (15°-20°) and clearance angles (10°-12°) to reduce cutting forces and friction. A lead angle of 80°-93° minimizes radial cutting forces (radial forces are approximately 1/5 of the axial forces) and prevents workpiece bending. A tool tip radius of 0.2-0.5mm prevents surface tearing and chatter marks. Tool materials should be sharp and wear-resistant carbide (such as YT15 and YW2). High-speed steel (W18Cr4V) can be used for finish turning. The cutting edge should be ground to a straightness error of ≤0.01mm/100mm. The tool should be mounted 0.1-0.2mm above the workpiece center (approximately 1%-2% of the diameter) to create an upward component of the cutting force, offsetting the workpiece’s own weight. By optimizing tool parameters, a machine tool manufacturer reduced cutting forces on slender shanks by 30% and reduced vibration amplitude from 0.05mm to 0.01mm.
Optimization of cutting parameters and cooling methods must be tailored to the characteristics of slender rods. For rough turning, a low speed and low feed combination is employed: cutting speed 60-80 m/min, feed 0.1-0.2 mm/r, and back-cut depth 0.5-1 mm to avoid generating high cutting forces and heat. For finish turning, the speed is increased to 100-120 m/min, feed 0.05-0.1 mm/r, and back-cut depth 0.1-0.3 mm. High-speed cutting reduces tool-workpiece contact time and vibration. A high-pressure, high-flow cooling system (pressure ≥ 0.5 MPa, flow ≥ 30 L/min) is required for the cutting fluid. Dual nozzles are used to cool the cutting zone and workpiece surface separately, maintaining a temperature rise of ≤ 5°C and minimizing thermal deformation. For slender rods with high precision requirements, machining should be performed in a constant temperature workshop (20 ± 1°C) and aging treatment (120-150°C for 4 hours) should be performed before finish turning to eliminate machining stresses. When an aerospace company processes slender titanium alloy rods, it controls the thermal deformation within 0.03mm through parameter optimization and temperature control measures.
Machining technology and error correction techniques are crucial for ensuring the precision of slender rods. The process employs a “segmented machining” approach: turning from both ends of the workpiece toward the center, with each segment measuring 100-200 mm in length, to avoid overall bending due to excessive force on one end. After rough turning, straightening (press straightening, deformation ≤ 0.1 mm) is performed, followed by semi-finishing and finishing. For slender rods with steps, the larger diameter section is machined first, followed by the smaller diameter section, to minimize sudden changes in rigidity. Finish turning utilizes an “axial feed method,” with the tool feeding continuously from the head to the foot of the lathe to avoid pauses and tool marks. During machining, a dial indicator is used to monitor the workpiece’s curvature in real time, with checks performed every 50 mm. If bending exceeds the limit, the machine is stopped and straightened immediately. A hydraulic equipment manufacturer employs segmented machining to achieve a straightness of less than 0.1 mm/m and a surface roughness Ra ≤ 0.8 μm for piston rods measuring φ8 mm × 2000 mm.
