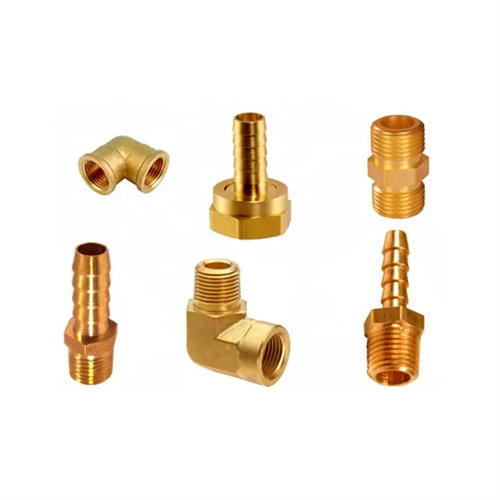
Turning of large diameter inner sphere of cast iron
Turning large-diameter cast iron internal spherical surfaces is one of the most challenging machining processes. Its machining quality directly impacts the sealing performance and motion accuracy of key components such as hydraulic cylinders and valve housings. Large-diameter internal spherical surfaces typically refer to spherical structures with a diameter exceeding 500mm. Due to the high brittleness of cast iron, the large radius of curvature, and the wide machining range, the turning process is prone to problems such as vibration, excessive surface roughness, and dimensional inaccuracies. Therefore, prior to turning, a comprehensive analysis of the part’s structural characteristics, material properties, and machining requirements is required to develop a scientific and rational machining plan.
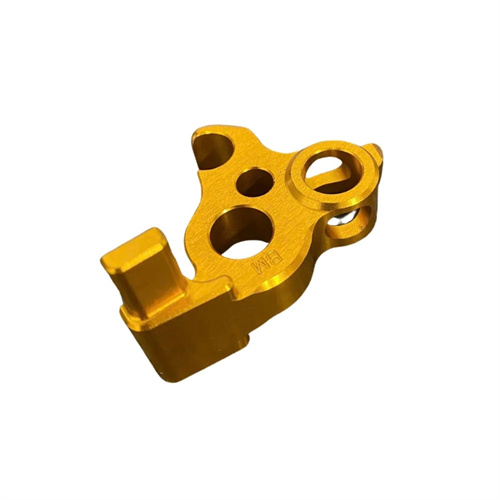
Tool selection and optimization of geometric parameters are key to ensuring high-quality turning of large-diameter internal spherical surfaces in cast iron. Considering the wear resistance and brittleness of cast iron, carbide tools with high hardness and good wear resistance should be selected, such as YW2 brand inserts. These inserts have a high cobalt content, offer excellent impact resistance, and effectively prevent edge chipping. The tool’s rake angle should be between -5° and 0°. A smaller rake angle enhances edge strength and prevents edge chipping during intermittent cutting. The back angle should be adjusted based on the radius of curvature of the sphere. For internal spheres with diameters of 500-1000mm, a back angle of 6°-8° is recommended to reduce friction between the tool and the machined surface while ensuring tool rigidity. Furthermore, the tool’s tip radius should match the curvature of the sphere, typically 3-5mm, to reduce cutting forces and improve surface roughness.
Properly setting the cutting parameters is crucial for turning large-diameter internal spherical surfaces. Because the contact area between the tool and the workpiece changes with position during spherical machining, the cutting speed and feed rate must be controlled using variable parameters. When cutting at the equator of the sphere, the linear speed is highest and the rotational speed should be appropriately reduced, generally to 80-120 r/min. Near the poles, the linear speed decreases, and the rotational speed can be increased to 150-200 r/min to ensure machining efficiency. Regarding feed rate, 0.3-0.5 mm/r is used for rough turning to quickly remove excess material; for finish turning, it is reduced to 0.1-0.15 mm/r. Combined with the use of cutting fluid, surface roughness can be controlled within Ra1.6μm. The depth of cut should be gradually adjusted based on tool strength and machine power. The initial cut should not exceed 3 mm, and then be reduced by 50% each subsequent time to avoid workpiece deformation due to excessive cutting forces.
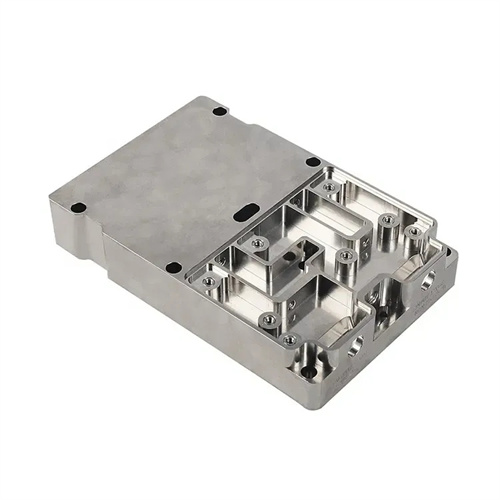
Optimizing the clamping method is a key measure to suppress machining vibration. The mass of large-diameter cast iron parts usually exceeds 500kg, and traditional three-jaw chuck clamping can easily lead to uneven force on the workpiece and elastic deformation. Therefore, a double-thimble combined with a tool holder clamping method should be adopted, and process ledges should be set at both ends of the workpiece to ensure the coaxiality of the rotation center and the center of the spherical surface through top positioning. For thin-walled inner spherical parts, auxiliary supports need to be added on the outside, and an adjustable hydraulic support device should be used to adjust the support force in real time according to the cutting position to control the radial runout of the workpiece within 0.05mm. In addition, the parallelism of the lathe spindle and the guide rail needs to be corrected in advance, and the error should not exceed 0.02mm/m to prevent shape errors of the spherical surface due to insufficient machine tool accuracy.
Measurement and error compensation techniques during machining are crucial for ensuring the dimensional accuracy of the inner sphere. Since large-diameter inner spheres cannot be measured directly using standard measuring tools, specialized spherical templates or online inspection using a laser tracker are necessary. During the rough turning stage, the template is checked every 30mm of arc length to ensure that the spherical curvature error does not exceed 0.5mm. The finish turning stage requires full monitoring. Contact sensors installed on the tool holder provide real-time feedback on the deviation between the cutting position and the theoretical sphere. The CNC system automatically compensates the tool trajectory, ultimately controlling the sphericity to within 0.05mm. Also, it is important to note that cast iron generates significant heat during the cutting process. Therefore, a high-pressure cooling system (pressure ≥ 5MPa) should be used to force-cool the cutting zone to prevent loss of precision due to thermal deformation of the workpiece.
