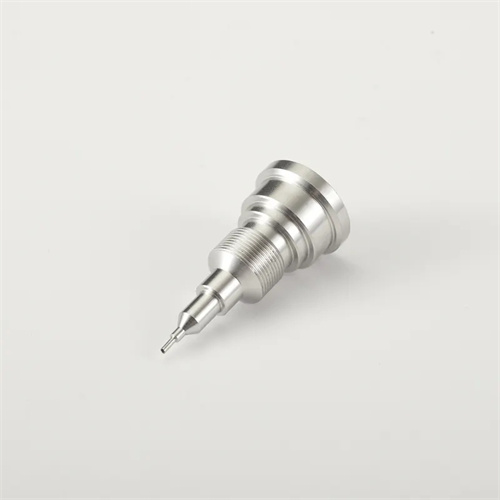
Milling workpieces on a lathe
Milling workpieces on a lathe is a flexible, multi-faceted machining method. By adding milling accessories (such as milling cutter heads and dividing heads) to the lathe, it can machine non-rotating surfaces such as flat surfaces, grooves, and keyways on rotating parts, eliminating the need for frequent equipment changes. This method is particularly suitable for small- to medium-volume production and single-piece machining of complex parts. The key advantage of this machining method lies in leveraging the lathe’s spindle rotational accuracy (typically radial runout ≤ 0.01mm) and the stability of the feed system to ensure positional accuracy (e.g., perpendicularity ≤ 0.02mm/100mm) between the milled surface and the axis of rotation. For example, when machining shaft parts with keyways, completing external turning and keyway milling in a single lathe setup can keep keyway symmetry within 0.01mm, significantly exceeding the accuracy of multiple setups. However, lathe milling also has limitations, such as low milling power (typically ≤ 5kW) and limited tool mounting rigidity. Therefore, the milling method and process parameters must be carefully selected.
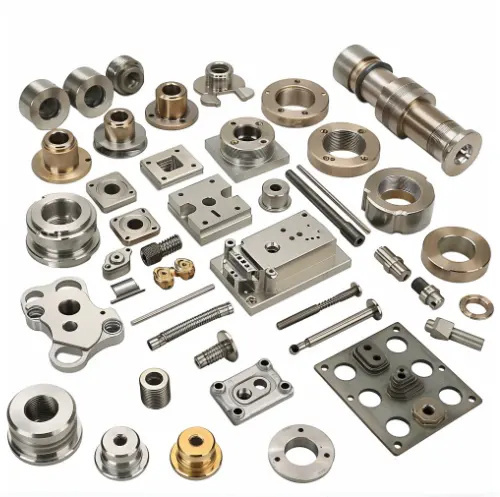
Equipment modification and accessory installation for lathe milling are fundamental to machining. Conventional lathes require the addition of specialized milling cutter holders (available in both horizontal and vertical models). Horizontal milling cutter holders are used for milling flat surfaces and grooves, while vertical milling cutter holders are suitable for milling end faces perpendicular to the axis or radial grooves. The milling cutter holder is secured to the lathe guide rails via T-slots, with a positioning accuracy of ≤0.02mm. A dial indicator is used to calibrate its parallelism or perpendicularity to the spindle axis (tolerance ≤0.01mm/m). For milling operations requiring indexing (such as polygons and splines), an indexing head is installed at the rear end of the lathe spindle. The indexing head is connected to the spindle via a coupling, ensuring an indexing accuracy of ≤±1′. The milling cutter is clamped using a specialized shank, with a clearance between the shank and the milling cutter holder of ≤0.005mm to prevent vibration during milling. A machinery factory modified a C6140 lathe and installed a precision milling cutter holder. It successfully milled a keyway with a tolerance grade of IT7 and a surface roughness of Ra≤1.6μm.
The choice of milling cutter type should be determined based on the surface characteristics. For machining flat and stepped surfaces, a carbide end mill (diameter φ10-φ50mm) with 4-6 teeth, a rake angle of 10°-15°, and a relief angle of 8°-12° is recommended. These cutters are suitable for high-speed milling (100-200 m/min). For milling keyways and narrow grooves, a high-speed steel end mill (diameter equal to the groove width, tolerance H8) should be used. Cutting edge straightness should be ≤0.01mm/100mm to avoid excessive groove width. For machining polygonal shapes (such as hexagonal bolts), a form milling cutter should be used. Its cutting edge should conform to the workpiece contour and should be made of W18Cr4V. Grinding should be performed to ensure cutting edge accuracy. The tool diameter should match the workpiece dimensions. For example, for milling a 10mm wide keyway, a φ10H8 end mill should be used. The milling depth should allow for a finishing allowance of 0.1-0.2mm, as specified in the drawing. When machining half-shaft keyways, an auto parts factory selected a φ14mm high-speed steel end mill. By grinding the cutting edge, the slot width error was controlled within ±0.01mm, meeting assembly requirements.
Lathe milling process parameters must balance machining efficiency and surface quality. Milling speeds are determined by the tool and workpiece materials: 30-60 m/min for high-speed steel milling cutters when machining steel and 20-40 m/min for cast iron. Carbide milling cutters can increase the speed to 80-150 m/min, with a feed rate of 0.05-0.1 mm/tooth. The back cut depth is 1-2 mm for roughing and 0.1-0.3 mm for finishing. For hardened steel (>30 HRC), this should be reduced to 0.05-0.1 mm to prevent chipping. Feeding methods include manual and motorized feed. Motorized feed (0.1-0.3 mm/r) is recommended for flat milling to ensure uniform feed. Complex contour milling can be fine-tuned manually, combined with marking for alignment, and the dimensions should be measured every 0.05 mm. Extreme pressure emulsions (8%-10% concentration) are used as cutting fluids. For high-speed steel cutting tools, sulfur-based extreme pressure agents can be added to reduce wear. A mold manufacturer used parameters of vc = 120 m/min and f = 0.1 mm/tooth when milling 45 steel flat surfaces. The surface roughness was reduced from Ra 3.2 μm to Ra 0.8 μm, increasing machining efficiency by 40%.
Lathe milling techniques and quality control are crucial for ensuring precision. When clamping the workpiece, a double-thrust or three-jaw chuck combined with a tailstock center should be used, with a clamping length ≥ 3 times the diameter to prevent bending of the workpiece under milling forces (deflection ≤ 0.01mm). Before milling, the coaxiality between the workpiece’s outer diameter and the spindle must be corrected (≤ 0.01mm), and the milling starting position must be determined using the marking method with an error of ≤ 0.05mm. During machining, interrupted cuts (such as when milling the end faces of parts with holes) should be avoided. If necessary, the feed rate should be reduced by 50% to minimize impact and vibration. Quality inspections include measuring the alignment of the milled surface with a dial indicator (e.g., flatness ≤ 0.02mm/100mm); measuring dimensions with a vernier caliper or micrometer (accuracy ±0.001mm); and testing surface quality with a roughness tester. Through strict control, a precision instrument manufacturer has achieved a perpendicularity error of 0.01mm/100mm between the milled surface and the axis of the lathe, meeting the high-precision requirements of instrument assembly.
Lathe milling of special surfaces requires specialized processes. When milling spiral grooves (such as worm helical surfaces), the lathe’s leadscrew drive must synchronize the tool’s axial feed with the spindle’s rotation. The drive ratio is calculated based on the screw lead ( i = lead / leadscrew pitch) and is adjusted using interchangeable gears to ensure a lead error of ≤0.02mm/100mm. When milling radial eccentric grooves, pre-drilled holes are required in the workpiece, which is then positioned using an eccentric sleeve. The eccentricity error is ≤0.01mm, and a low feed rate (≤30m/min) is used during milling to prevent vibration caused by centrifugal forces. When milling thin-walled parts (wall thickness <2mm), specialized fixtures are required to increase rigidity, such as fan-shaped support blocks with support points every 120° and a clamping force of 0.5-1kN to prevent workpiece deformation. An aviation company used a special process to successfully mill radial grooves on a 1mm thick aluminum alloy thin-walled part on a lathe, and the deformation was controlled within 0.03mm.
