Equipment Calibration for Precision CNC Machined Parts
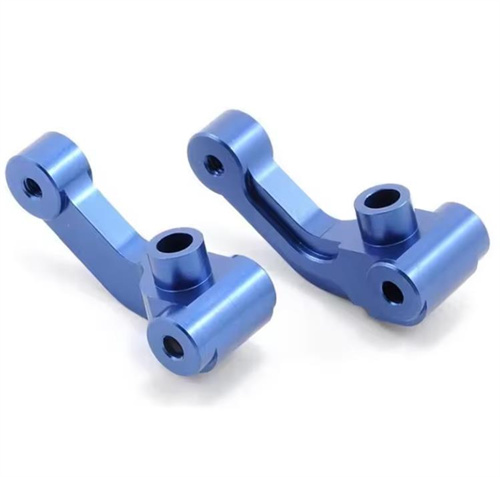
Maintaining extreme precision in CNC machined parts begins with rigorous equipment calibration that forms the foundation of our tolerance control system. Our CNC machining centers undergo weekly calibration using laser interferometers that measure positioning accuracy to within 0.5 microns, ensuring all axes move precisely according to programmed coordinates. We calibrate spindles for runout, thermal stability, and rotational accuracy, verifying that cutting tools maintain concentricity within 2 microns—critical for achieving tight tolerances in CNC machined parts. Ball screws and linear guides are inspected for backlash, with adjustments made to keep play below 3 microns for critical axes. We use temperature-controlled enclosures for high-precision machines, maintaining ambient conditions within ±1°C to prevent thermal expansion effects that could alter dimensions of CNC machined parts. Our calibration records are meticulously documented and stored digitally, providing traceability for every tolerance-critical production run. This commitment to equipment precision ensures our CNC machined parts consistently meet tolerances as tight as ±0.001mm for critical applications in aerospace and medical industries.
Material Stability for Tight-Tolerance CNC Machined Parts
Material properties significantly influence our ability to achieve and maintain tight tolerances in CNC machined parts, making material selection and preparation critical steps. We source materials with tightly controlled chemical compositions and uniform grain structures, as inconsistencies can cause unpredictable machining behavior and dimensional variations. For metal CNC machined parts requiring ±0.002mm tolerances, we use stress-relieved alloys—including 6061-T6 aluminum and 4140 pre-hardened steel—that minimize post-machining deformation. We perform ultrasonic testing on raw materials to detect internal defects that could affect machining precision. Prior to processing, materials undergo controlled acclimation to shop temperatures, eliminating thermal gradients that might cause size variations during machining. For plastics and composites used in precision CNC machined parts, we control moisture content through pre-machining drying processes, as absorbed moisture can lead to dimensional shifts after machining. Our material handling protocols prevent contamination and ensure consistent stock dimensions, providing a stable foundation for achieving tight tolerances in all CNC machined parts.
Machining Strategies for Tight-Tolerance CNC Machined Parts
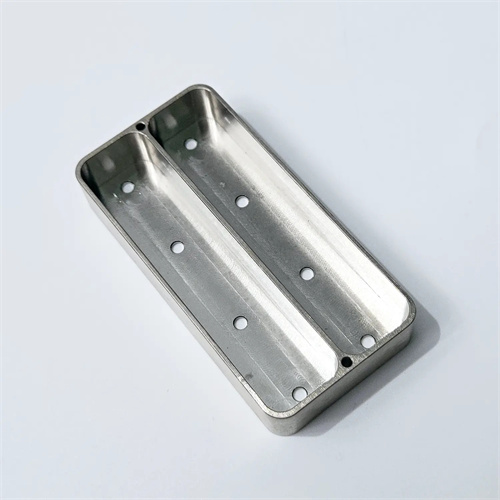
Developing specialized machining strategies is essential to achieving and maintaining tight tolerances in complex CNC machined parts. We use high-speed machining with optimized feed rates and cutting depths that minimize tool deflection and heat generation—two primary causes of dimensional errors. For critical features, we implement “roughing, semi-finishing, and finishing” sequences, with each step removing progressively less material to reduce residual stresses in CNC machined parts. Our toolpaths are programmed with arc transitions rather than sharp corners, maintaining constant chip load and preventing tool vibration that could compromise tolerance control. We employ “air cutting” moves between features to allow spindle and axis stability before engaging the material again. For multi-axis CNC machined parts, we use 3+2 positioning for critical tolerance features, fixing rotational axes to eliminate dynamic errors during cutting. Coolant delivery is precisely directed to the cutting zone, controlling temperature and ensuring consistent tool performance. These strategies, combined with in-process measurement verification, enable us to hold positional tolerances of ±0.003mm and form tolerances of 0.005mm for complex CNC machined parts.
Advanced Measurement Techniques for CNC Machined Parts
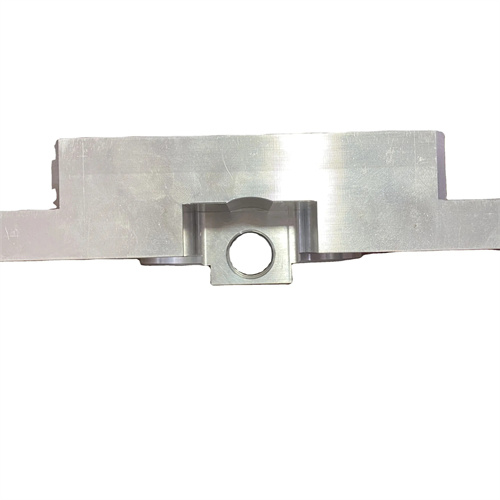
Accurately verifying tight tolerances in CNC machined parts requires advanced measurement systems that match the precision of our machining equipment. Our quality lab features coordinate measuring machines (CMMs) with scanning probes that capture 3D data points at rates up to 500 points per second, creating detailed digital models of CNC machined parts for tolerance analysis. We use optical comparators and vision systems for 2D feature inspection, achieving sub-micron resolution for critical dimensions like hole diameters and slot widths. For surface finish measurement, our profilometers evaluate Ra, Rz, and Rq parameters with 0.01 micron resolution, ensuring surface characteristics meet specifications that complement dimensional tolerances. We implement statistical process control (SPC) software that analyzes measurement data from multiple CNC machined parts, identifying trends before they exceed tolerance limits. For complex geometries, we use computed tomography (CT) scanning to inspect internal features without destructive testing. These measurement techniques provide comprehensive verification that our CNC machined parts meet all specified tolerances for critical applications.
Environmental Control for Precision CNC Machined Parts
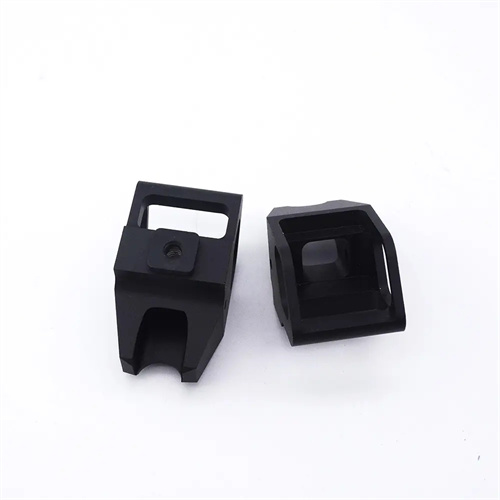
Maintaining stable environmental conditions is paramount to achieving tight tolerances in CNC machined parts, as temperature, humidity, and vibration can all affect dimensional accuracy. Our precision machining areas are climate-controlled to 20°C ±0.5°C, with humidity maintained between 45–55% to prevent material expansion or contraction. We isolate high-precision machining cells from external vibrations using floating concrete foundations and vibration-damping pads, ensuring floor vibrations remain below 2 microns peak-to-peak. Airborne contaminants are controlled through HEPA filtration systems that maintain Class 7 cleanroom conditions in critical machining zones, preventing particulate matter from interfering with measurements or machining processes for sensitive CNC machined parts. We monitor environmental conditions in real time with sensors linked to our manufacturing execution system, automatically alerting operators to deviations that could affect tolerance control. These environmental controls ensure that external factors do not compromise the precision of our CNC machined parts, even when working to tolerances below 0.005mm.
Application-Specific Tolerance Optimization for CNC Machined Parts
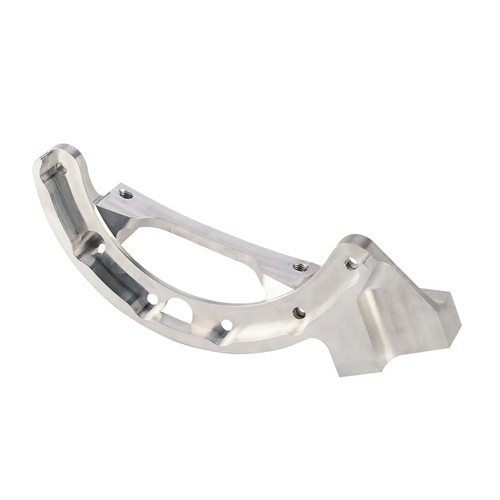
Tailoring tolerance specifications to specific applications ensures our CNC machined parts deliver optimal performance without unnecessary precision costs. For aerospace structural components, we focus on positional tolerances between mating features, maintaining ±0.003mm alignment to ensure proper load distribution. Medical device CNC machined parts require strict form tolerances—including flatness within 0.002mm for implant surfaces—to ensure biocompatibility and proper fit with anatomical structures. In semiconductor manufacturing equipment, we achieve ±0.001mm positional tolerances for components that align optical systems and vacuum chambers. We collaborate with design engineers to implement “tolerance stacking” analysis, identifying critical dimensions that require tight control while relaxing non-critical tolerances where possible. Our application engineers evaluate functional requirements, environmental conditions, and assembly processes to recommend appropriate tolerances for each CNC machined part. This targeted approach ensures our precision CNC machined parts meet performance requirements in critical applications while optimizing production efficiency and cost-effectiveness.