Understanding ISO 13485 Surface Standards for CNC Turned Components
ISO 13485 sets stringent surface roughness requirements for medical CNC turned components to ensure biocompatibility, functionality, and safety in clinical applications. These standards specify maximum Ra values ranging from 0.025μm for optical components to 1.6μm for structural parts, with critical surfaces like implantable shafts requiring Ra ≤0.8μm to minimize tissue irritation. We interpret these requirements by matching surface finish to component function: surgical instrument jaws need smooth surfaces (Ra 0.4μm) to prevent tissue damage, while bone screws require controlled micro-roughness (Ra 1.0–1.6μm) to promote osseointegration. ISO 13485 also mandates consistent surface quality across production runs, requiring our processes to maintain roughness variations within ±10% of specified values. Our quality team maps each medical CNC turned component’s surface requirements using 3D models, identifying critical areas that directly contact patients, fluids, or other devices. This thorough understanding of ISO 13485 standards ensures our CNC turned components meet both regulatory requirements and clinical performance needs.
Machining Parameters for Precision Surface Finish in CNC Turned Components
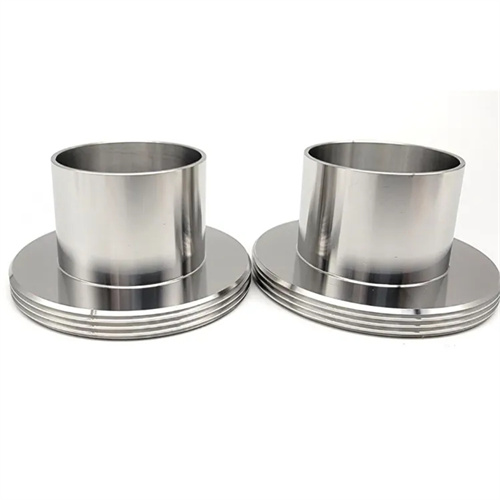
Optimizing machining parameters is critical to achieving ISO 13485 surface roughness requirements in medical CNC turned components. We use high-precision carbide tools with honed cutting edges (0.01mm radius) to minimize surface disruption during turning, reducing micro-irregularities that could exceed roughness limits. Spindle speeds are carefully calibrated—typically 8,000–12,000 RPM for titanium components—to create consistent chip formation without causing material smearing. Feed rates are reduced to 0.01–0.03mm/rev for final passes, ensuring each tool pass removes minimal material to achieve the desired finish in CNC turned components. We implement coolant-through tooling with medical-grade coolants that prevent contamination while maintaining thermal stability, avoiding heat-induced surface damage. Our CNC programs include dwell cycles at the end of finishing passes to eliminate tool marks, critical for meeting Ra ≤0.2μm requirements for implantable CNC turned components. These parameter optimizations ensure surface roughness remains within ISO 13485 limits across all production runs.
Material Considerations for Surface Quality in Medical CNC Turned Components
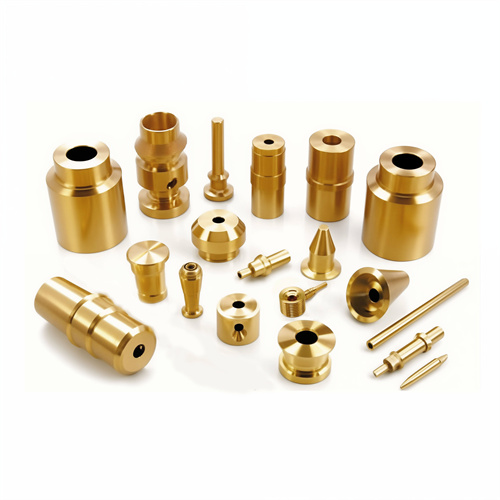
Material properties significantly influence surface roughness outcomes in medical CNC turned components, requiring careful selection and preparation to meet ISO 13485 standards. Titanium alloys (Ti-6Al-4V ELI) demand specialized turning strategies due to their low thermal conductivity, which can cause built-up edge formation that increases surface roughness. We address this by using high-pressure coolant systems and sharp tool geometries that produce clean cuts in titanium CNC turned components. Stainless steels (316L) require slower feed rates to prevent work hardening, ensuring consistent surface finishes (Ra 0.4μm) for surgical instrument shafts. For plastic medical components like catheter hubs, we use high-speed turning with polished tools to achieve smooth surfaces that resist bacterial adhesion. We verify material uniformity through metallographic analysis, ensuring no inclusions or segregations that could create surface imperfections in CNC turned components. Proper material selection and preparation create the foundation for achieving ISO 13485 surface roughness requirements consistently.
Measurement Techniques for CNC Turned Components Surface Roughness
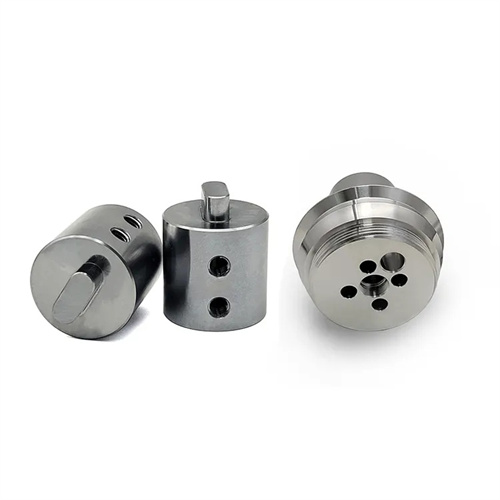
Accurate measurement of surface roughness is essential to verifying compliance with ISO 13485 requirements for medical CNC turned components. We use contact profilometers with diamond-tipped styluses that traverse critical surfaces at 0.5mm/s, capturing roughness data at a resolution of 0.001μm. These devices measure not just Ra (arithmetic mean deviation) but also Rz (maximum height) and Rq (root mean square) values, providing comprehensive surface characterization for CNC turned components. For complex geometries like threaded sections or curved surfaces, we use non-contact optical profilers that generate 3D surface maps without damaging delicate components. Our inspection plan includes measuring at least five points per critical surface, ensuring representative sampling across the entire CNC turned component. We maintain strict calibration of measurement equipment to national standards, with daily verification using reference standards traceable to NIST. These rigorous measurement techniques ensure we can document compliance with ISO 13485 surface roughness requirements for every medical component.
Surface Treatment for Medical CNC Turned Components
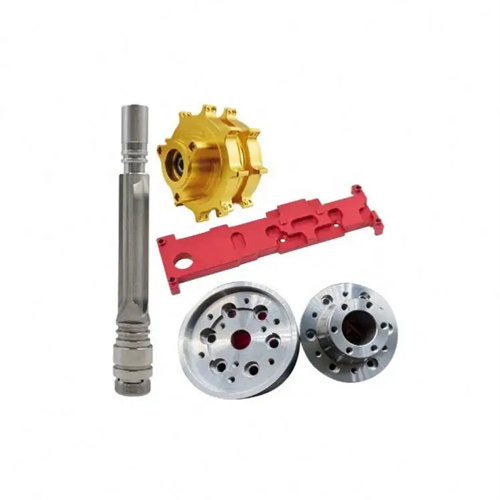
Specialized surface treatments enhance both surface finish and biocompatibility of medical CNC turned components while maintaining ISO 13485 compliance. Electropolishing is our primary treatment for stainless steel components, reducing Ra values by 50–70% and creating a passive oxide layer that resists corrosion and bacterial colonization. For titanium CNC turned components, we use anodizing processes that control surface roughness within Ra 0.2–0.4μm while improving osseointegration properties for implants. We apply PTFE coatings to select components like surgical instrument handles, achieving ultra-smooth surfaces (Ra ≤0.1μm) that enhance ergonomics and cleanability. All surface treatments undergo validation to ensure they don’t introduce contaminants or create roughness variations beyond ISO 13485 limits. We also perform post-treatment roughness verification, confirming that medical CNC turned components maintain required surface quality through final packaging. These treatments complement our precision turning processes, creating surfaces that meet both regulatory and clinical requirements.
Process Validation for Consistent Surface Finish in CNC Turned Components
Continuous process validation ensures our medical CNC turned components consistently meet ISO 13485 surface roughness requirements across production runs. We implement statistical process control (SPC) that monitors surface roughness measurements, requiring Cpk values ≥1.33 to ensure minimal variation. Our validation protocols include regular tooling audits, verifying that cutting tools maintain sharpness and geometry to produce consistent finishes in CNC turned components. We conduct process capability studies for each component type, documenting how machining parameters affect surface roughness and establishing control limits. Environmental controls maintain stable temperature (20±1°C) and humidity (45–55%) in production areas, preventing thermal effects that could alter surface finish. We also perform periodic destructive testing, examining cross-sections of CNC turned components to verify surface integrity at the microstructural level. This comprehensive validation process ensures our manufacturing processes remain capable of producing medical CNC turned components with surface finishes that meet ISO 13485 standards and support patient safety.