Specialized Equipment for Micro-Scale CNC Turned Components
Producing sub-1mm diameter CNC turned components requires specialized micro-turning equipment engineered for extreme precision. Our micro-lathes feature ultra-high-precision spindles with rotational accuracy below 0.5 microns, essential for maintaining concentricity in components smaller than a human hair. These machines operate with nanometer-level positioning resolution (0.001μm) on all axes, allowing us to achieve dimensional tolerances of ±0.0005mm for critical diameters. We’ve integrated vibration isolation systems that reduce ambient disturbances to less than 2nm, preventing chatter that would ruin delicate CNC turned components. The machines feature specialized collet chucks with 3-jaw designs that grip micro-sized stock (0.2–1mm diameter) with minimal distortion, ensuring stable machining conditions. High-magnification vision systems (40×–100×) provide real-time monitoring of the cutting process, allowing operators to verify dimensions without removing CNC turned components from the machine. This specialized equipment forms the foundation for reliably producing sub-1mm diameter components that meet the strict requirements of medical and electronics applications.
Tooling Solutions for Sub-1mm CNC Turned Components
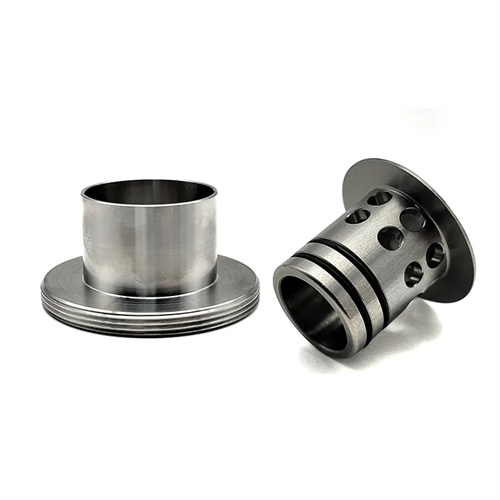
Micro-turning sub-1mm diameter components demands specialized tooling that balances strength and precision to avoid deflection and breakage. We use ultra-small carbide inserts with cutting edges as fine as 0.02mm, manufactured using diamond grinding to achieve perfect geometric accuracy. These tools feature high-positive rake angles (15°–20°) that reduce cutting forces, minimizing deflection when machining delicate CNC turned components. Tool holders are designed with minimal overhang (less than 5mm) to maximize rigidity, critical when turning diameters below 0.5mm. We employ diamond tools for finishing operations on non-ferrous materials, achieving surface finishes as low as Ra 0.02μm on copper and aluminum CNC turned components. For micro-threading applications, we use custom-ground thread tools with precise pitch accuracy (±0.001mm) to produce functional threads on 0.5mm diameter shafts. Our tooling selection process includes finite element analysis to simulate cutting forces, ensuring tools can withstand the stresses of micro-turning without deforming the workpiece. These specialized tooling solutions enable consistent production of sub-1mm CNC turned components with exceptional precision.
Material Handling for Micro-Scale CNC Turned Components
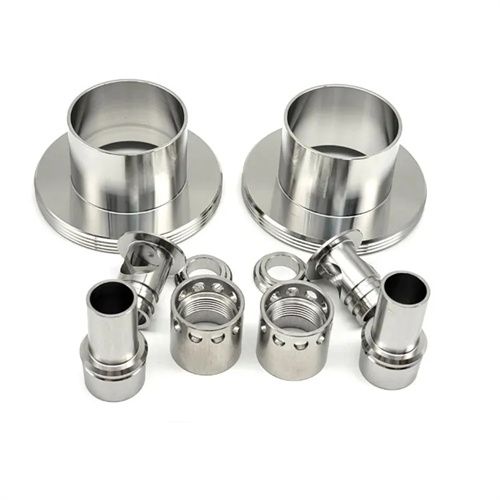
Handling materials for sub-1mm diameter CNC turned components requires meticulous processes to prevent damage and ensure consistent machining results. We source ultra-precision bar stock with diameter tolerances of ±0.002mm, minimizing initial variation in raw materials used for micro-components. Material preparation includes ultrasonic cleaning to remove contaminants that could cause tool damage or surface imperfections in CNC turned components. We use vacuum pick-and-place systems with soft silicone tips to handle micro-stock, preventing deformation that would affect final dimensions. For extremely small diameters (0.2–0.5mm), we implement support structures during machining, such as temporary sleeves that stabilize the workpiece during cutting operations. Our material selection prioritizes machinability—preferring precipitation-hardened stainless steels and titanium alloys that machine cleanly without chipping. We also control material grain structure through specialized annealing processes, ensuring uniform cutting behavior in CNC turned components where even minor material variations would cause dimensional inconsistencies. These careful material handling practices ensure the stability needed to produce reliable sub-1mm diameter components.
Precision Control in Micro-Turned CNC Components
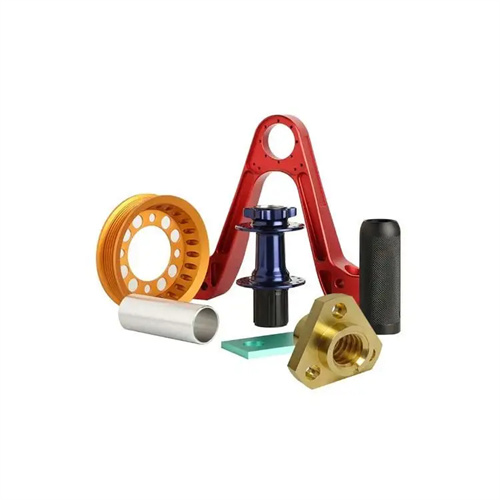
Achieving consistent precision in sub-1mm CNC turned components requires advanced process control systems that monitor and adjust parameters in real time. We use in-process laser micrometers that measure diameters during machining with 0.1μm resolution, providing closed-loop feedback to the CNC controller that compensates for any dimensional drift. Our programming includes micro-pulses in feed motion (5–10nm increments) that reduce cutting forces while maintaining surface quality in delicate components. We control cutting temperatures to within ±1°C using specialized cooling systems, preventing thermal expansion that could alter dimensions of CNC turned components smaller than 0.5mm. The machines operate in temperature-controlled enclosures (20±0.1°C) to eliminate environmental effects on precision. We implement statistical process control with sampling plans that inspect 100% of critical dimensions, using automated vision systems to measure features like micro-grooves and tapers on CNC turned components. These precision control measures ensure our sub-1mm diameter components maintain dimensional consistency across production runs, with typical variation below 0.001mm.
Applications for Sub-1mm CNC Turned Components
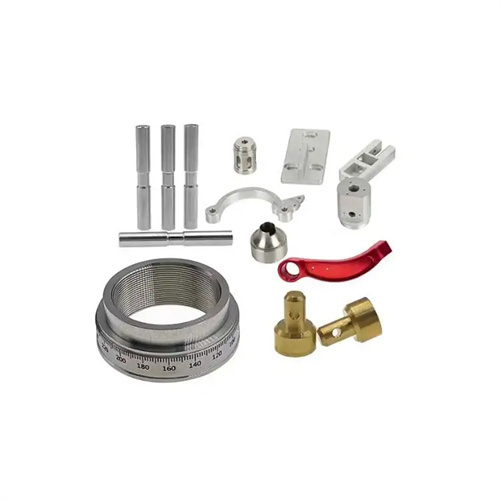
Sub-1mm diameter CNC turned components enable innovation across industries requiring miniaturized precision parts. Medical device manufacturers rely on our micro-turned shafts (0.3–0.8mm diameter) for endoscopic tools and catheter assemblies, where small size enables minimally invasive procedures. The electronics industry uses our micro-pins and connectors (0.2–0.5mm diameter) for high-density interconnects in smartphones and wearable devices. Aerospace applications incorporate our lightweight micro-fasteners (0.6–1mm diameter) in miniaturized avionics systems. We produce micro-valve components for drug delivery devices, including 0.4mm diameter plungers that control precise medication dosages. Our CNC turned components also support research instrumentation, such as 0.5mm diameter probes for scanning electron microscopes. Each application demands specific surface finishes and tolerances—from Ra 0.05μm for medical components to tight concentricity (0.001mm) for precision shafts. By meeting these diverse requirements, our sub-1mm CNC turned components enable technological advancements in miniaturized systems across multiple sectors.
Process Validation for Micro-Scale CNC Turned Components
Validating micro-turning processes ensures consistent quality in sub-1mm diameter CNC turned components through rigorous testing and documentation. We conduct capability studies (CPK analysis) on all critical dimensions, requiring minimum CPK values of 1.67 to ensure process stability for components as small as 0.2mm. Our validation includes long-term production runs (1,000+ parts) that verify dimensional stability over time, monitoring for tool wear effects that could impact precision. We use scanning electron microscopy (SEM) to inspect surface integrity, verifying no micro-cracks or imperfections in CNC turned components. Environmental testing subjects micro-components to temperature cycling (-40°C to 85°C) and vibration to ensure dimensional stability under operating conditions. We also validate cleaning processes, ensuring sub-1mm CNC turned components meet ISO 13485 cleanliness standards for medical applications. All validation data is documented in a secure digital system, providing traceability for each production batch. This comprehensive validation process ensures our micro-turning technology reliably produces high-quality sub-1mm diameter components for critical applications.