Machine Tool Requirements for Sub-Micron CNC Turned Parts
Achieving sub-micron surface finishes (Ra ≤0.1μm) in CNC turned parts demands specialized machine tools engineered for extreme stability and precision. Our ultra-precision turning centers feature air-bearing spindles with rotational accuracy below 0.05 microns, eliminating mechanical contact that could introduce vibration or runout. These machines incorporate hydrostatic guideways that float axes on pressurized oil films, reducing friction to near-zero and enabling positioning resolution of 1 nanometer. We’ve integrated thermal compensation systems that continuously monitor and adjust for temperature fluctuations as small as 0.1°C, preventing dimensional drift that would compromise surface quality in CNC turned parts. The machines operate within vibration-isolated enclosures mounted on concrete foundations, reducing ambient disturbances to less than 1nm peak-to-peak. Spindle speeds are precisely controlled up to 20,000 RPM with frequency converters that maintain rotational stability within ±1 RPM. This equipment infrastructure creates the stable platform necessary to produce CNC turned parts with surface finishes consistently below 0.05μm Ra.
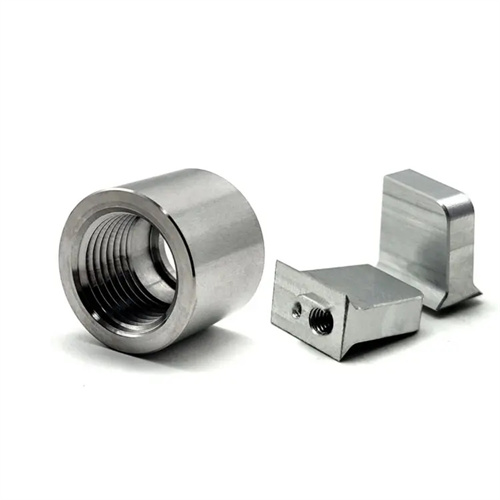
Tooling Solutions for Ultra-Precision CNC Turned Parts
Producing sub-micron surface finishes in CNC turned parts requires tooling that combines atomic-level sharpness with exceptional wear resistance. We use single-crystal diamond tools with cutting edges honed to radii as small as 50nm, manufactured using laser ablation for perfect geometric accuracy. These natural diamond tools maintain their sharpness through extended machining cycles, producing mirror-like finishes on non-ferrous CNC turned parts like aluminum and copper alloys. For harder materials like titanium, we employ chemical vapor deposition (CVD) diamond-coated carbide tools with ultra-smooth coating surfaces (Ra ≤0.02μm). Tool holders are precision-ground from solid steel billets with runout controlled below 1 micron, ensuring the cutting edge maintains precise positioning relative to the workpiece. We balance all tooling assemblies to G0.4 at 10,000 RPM, eliminating centrifugal forces that could create surface imperfections in CNC turned parts. Our tooling inspection protocol uses scanning electron microscopy (SEM) to verify edge integrity, replacing tools at the first sign of nanoscale wear to prevent surface finish degradation.
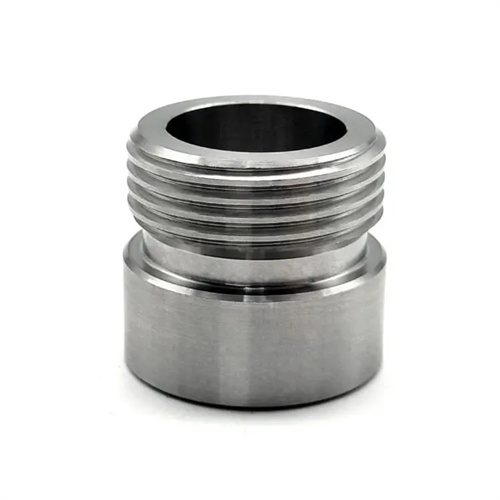
Machining Parameters for Sub-Micron CNC Turned Parts
Optimizing cutting parameters is critical to achieving sub-micron surface finishes in CNC turned parts, where even atomic-level irregularities become measurable. We use ultra-high spindle speeds (8,000–20,000 RPM) combined with extremely low feed rates (0.002–0.005mm/rev) to create continuous chip formation without tearing the workpiece surface. Depth of cut is minimized to 2–5 microns for finishing passes, removing only the topmost material layer to avoid subsurface damage in CNC turned parts. Cutting speeds are precisely calibrated based on material—typically 150–300 m/min for aluminum and 50–100 m/min for copper alloys—to balance material removal with heat generation. We implement dry cutting with ionized air blowing to remove chips without introducing coolant turbulence that could mar surfaces. Our CNC programs include micro-pauses between passes to allow stress relaxation, preventing workpiece deformation that would create surface waviness. These parameter settings ensure the cutting process shears material rather than tearing it, producing CNC turned parts with surface finishes consistently below 0.08μm Ra.
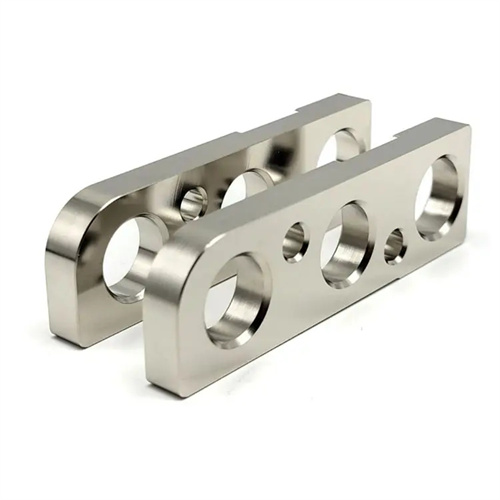
Environmental Controls for Ultra-Precision CNC Turned Parts
Maintaining pristine environmental conditions is essential to producing CNC turned parts with sub-micron surface finishes, as even minor contaminants or fluctuations can degrade surface quality. Our ultra-precision machining cell operates as a Class 5 cleanroom with HEPA filtration that removes 99.999% of particles larger than 0.3μm, preventing airborne debris from adhering to freshly machined surfaces. Temperature is controlled to 20°C ±0.05°C using dedicated HVAC systems with thermal mass buffers, minimizing thermal expansion effects on both machine and workpiece. Relative humidity is maintained at 45–50% ±2% to prevent moisture-related surface defects in CNC turned parts. We use anti-static flooring and ionizers to eliminate electrostatic discharge that could attract contaminants. All operators wear lint-free garments, gloves, and face masks when handling ultra-precision components. The machining area is pressurized relative to adjacent spaces to prevent unfiltered air infiltration. These environmental controls ensure that CNC turned parts maintain their sub-micron surface finishes from machining through final inspection and packaging.
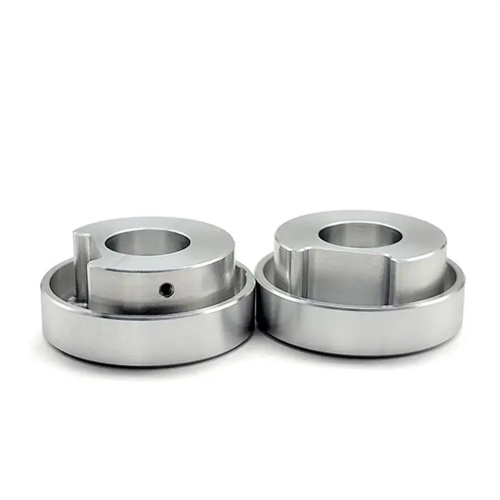
Measurement and Verification of CNC Turned Parts Surface Finishes
Accurately measuring sub-micron surface finishes in CNC turned parts requires metrology equipment capable of resolving atomic-scale irregularities. We use white light interferometers that generate 3D surface maps with vertical resolution of 0.1nm, capturing roughness data across 1mm² areas to ensure representative sampling. These systems measure not just Ra but also detailed parameters like Rz (maximum height), Rq (root mean square), and Rsk (skewness) to fully characterize surface texture in CNC turned parts. For critical applications, we employ atomic force microscopy (AFM) that scans surfaces with a cantilever probe, producing topographical images with 0.1nm vertical resolution. Our inspection process includes measuring surface finishes immediately after machining and again after 24 hours of environmental acclimation, verifying stability in CNC turned parts. We maintain a library of certified reference standards traceable to NIST, calibrating all measurement equipment weekly to ensure accuracy. This comprehensive verification process documents that every ultra-precision CNC turned part meets the specified sub-micron surface finish requirements.
Applications for Sub-Micron CNC Turned Parts
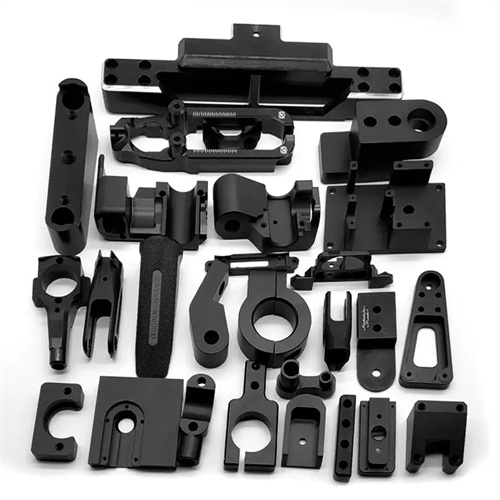
CNC turned parts with sub-micron surface finishes enable critical functionality in advanced technological applications requiring extreme precision. Optical systems rely on our aluminum CNC turned parts with 0.02μm Ra finishes for mirror mounts and lens barrels, where surface irregularities would scatter light and degrade performance. Semiconductor manufacturing uses our copper CNC turned parts with 0.05μm Ra surfaces for vacuum chamber components, ensuring particle-free environments and uniform heat transfer. Medical device applications include titanium implant components with ultra-smooth finishes that reduce tissue irritation and improve biocompatibility. Precision bearing races in aerospace gyroscopes depend on our sub-micron surface CNC turned parts to minimize friction and extend service life. We produce microwave waveguide components with 0.03μm Ra finishes that ensure optimal signal transmission with minimal loss. These applications demonstrate how sub-micron surface finishes in CNC turned parts directly enable performance capabilities that would be impossible with conventional machining processes.