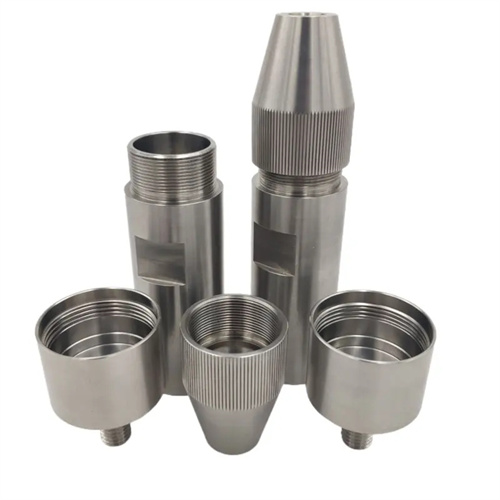
The requirements of accuracy of Precision Turned Parts are mainly reflected in ensuring high-precision, high-efficiency, and high-quality machining processes. The following are detailed requirements for machine tools:
High machining accuracy requirements:
The machining accuracy of the machine tool should reach or exceed the tolerance range required by Precision Machining Parts. This usually requires machine tools to have precise control systems, high-quality cutting tools, and stable mechanical structures.
The basic components of ultra precision machine tools, such as precision linear or circular sliding systems (guide rails), precision transmission systems (such as screws and caps), precision active systems (such as stepper motors, servo motors, etc.), and precision position detection mechanisms (such as linear encoders, rotary encoders, etc.), are essential.
Stability and rigidity:
The machine tool needs to maintain stability during the machining process to reduce the impact of vibration on the machining accuracy of Precision Turned Parts. The rigidity of machine tools is also important, as they can resist the influence of cutting forces on the workpiece and tool.
CNC system:
The control of machining motion of CNC machine tools through computer programs is the key to achieving high-precision and high-efficiency machining. The CNC system should have high flexibility and programmability to meet the machining needs of different Precision Machining Parts.
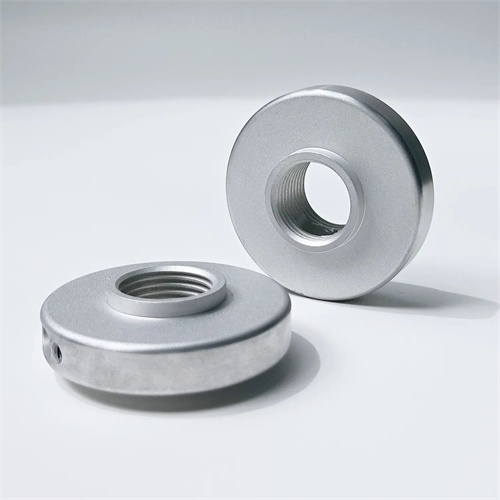
Tool and fixture system:
The selection of cutting tools and the stability of the cutting tool system have a significant impact on the machining accuracy and efficiency of Precision Turned Parts. Machine tools should be equipped with high-quality cutting tools and reliable tool clamping and replacement systems.
The fixture system should be able to stably and reliably fix the workpiece, ensuring its position and accuracy during the machining process.
Cooling system:
For the processing of certain materials, machine tools need to be equipped with cooling systems to reduce the impact of heat generated during the cutting process on the workpiece and tool, ensuring machining accuracy and tool life.

Software and programming support:
Machine tools should be equipped with easy-to-use programming software that supports the integration of CAD/CAM technology, in order to quickly and accurately generate machining programs.
When it comes to precision turned parts, ensuring machining accuracy is the linchpin of our manufacturing success. In our experience, achieving and maintaining this level of precision demands a multifaceted approach that encompasses every aspect of the production process, from the initial setup to the final inspection.
At the onset, meticulous machine calibration forms the bedrock of our accuracy – ensuring efforts. We understand that even the slightest misalignment in our CNC turning machines can lead to significant deviations in the final parts. Our team of skilled technicians conducts regular and in – depth calibrations using high – precision measurement tools. We check and adjust crucial elements such as the spindle’s concentricity, the linear guideways’ straightness, and the positioning accuracy of the turret. By painstakingly fine – tuning these components, we create a stable and accurate machining foundation that minimizes errors right from the start.
Equally vital is the selection and maintenance of cutting tools. We know that the quality and condition of the tools directly impact machining accuracy. We source top – of – the – line cutting tools made from high – performance materials like carbide and ceramic, carefully choosing the right tool geometry and coating for each specific machining task. Before each production run, we conduct thorough inspections of the tools, checking for any signs of wear, damage, or dullness. Additionally, we implement a strict tool management system that tracks tool usage, predicts wear patterns, and schedules timely replacements or regrinding. This proactive approach ensures that our cutting tools remain sharp and precise throughout the machining process, enabling us to achieve consistent and accurate results.
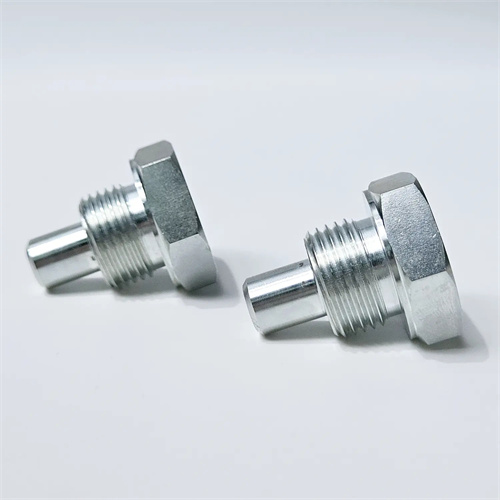
Precision programming is another key factor in our pursuit of accuracy. Our programmers leverage advanced computer – aided manufacturing (CAM) software, but they also draw on their extensive practical knowledge. When generating the machining program for precision turned parts, we pay close attention to details such as the feed rate, cutting speed, and toolpath. For example, we carefully calculate the optimal feed rate to balance material removal efficiency with the need to prevent vibrations that could affect accuracy. We also simulate the machining process within the CAM software, visualizing the tool’s movement and identifying potential interference or inaccuracies. By fine – tuning the program based on these simulations, we can avoid costly errors during actual machining.
During the machining operation, we employ real – time monitoring techniques to safeguard accuracy. Our CNC turning machines are equipped with sensors that continuously measure parameters like cutting forces, spindle temperature, and tool deflection. We set up alarm systems that alert our operators immediately if any of these parameters deviate from the pre – defined acceptable range. Our operators closely observe the machining process, using in – process gauging tools to measure the part’s dimensions at key intervals. If any discrepancies are detected, they can promptly adjust the machining parameters, such as reducing the cutting speed or modifying the toolpath, to bring the part back within the required tolerance.
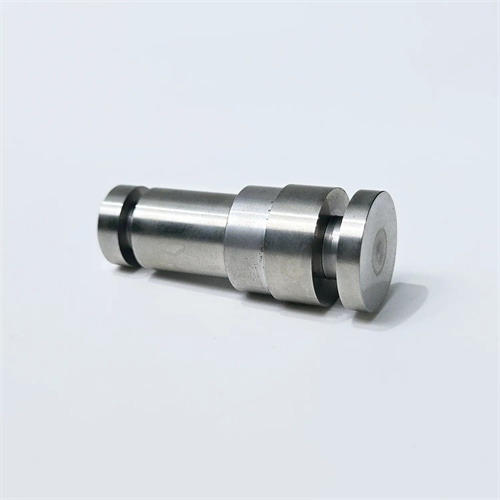
Finally, a comprehensive quality control process is integral to ensuring machining accuracy. After the parts are turned, we subject them to a battery of inspections using highly accurate measurement instruments. Coordinate measuring machines (CMMs) are our go – to for precise dimensional measurements, while optical comparators help us assess the part’s shape and profile accuracy. We also conduct surface finish inspections using profilometers to ensure that it meets the specified requirements. Every inspection result is meticulously recorded and compared against the design specifications. Parts that do not meet the accuracy standards are either reworked using carefully planned corrective procedures or rejected, guaranteeing that only parts of the highest precision leave our facility.
In essence, ensuring the machining accuracy of precision turned parts is a complex yet rewarding endeavor that requires our unwavering attention to detail, technical expertise, and commitment to quality at every stage of the manufacturing process.
